|
Transmisson Vacuum Valve Lever Replacement |
| Home |
| Bio diesel and WVO page |
All parts used in these pictorials are available at the diesel parts for sale page
Transmission vacuum valve lever replacement
Older diesel Mercedes cars with an automatic transmission tend to shift harder than other cars you may be use to. Some times the transmission just does not shift quite right. While there are many items that can go arye, one thing is for sure, there is a 99.9% chance your vacuum valve levers are worn and not working properly. In this issue we will inspect and replace the vacuum valve levers on a 1984 300 SD.
Safety and security tips:
Please remember to recycle all your used fluids at an appropriate recycling center. Be mindful to not spill or splash fluids on yourself, others or the ground. Also as a safety tip please remember anytime you are working on, around or under your car, to wear safety glasses and secure the car with wheel stops and approved jack stands!
Items needed:
(2) vacuum valve levers
very small screwdriver, like to tighten eyeglasses
small flat bladed screwdriver
allen wrenches
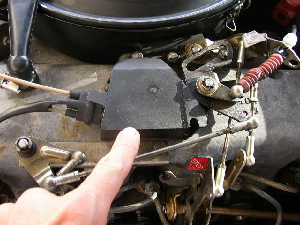
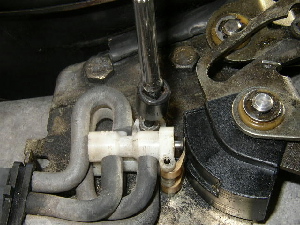
Start by locating the transmission vacuum box that contains the levers. It is located on top of the valve cover and has several vacuum lines entering the front.
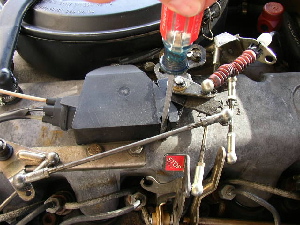
Next remove the screw that hold the box to the valve cover and them GENTLY slide the cover toward the front. There is a tab on the front bottom of the cover do not break this.
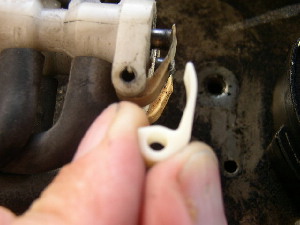
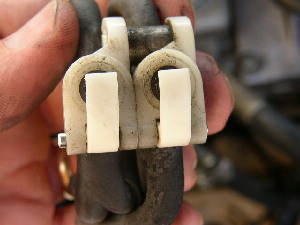
Locate the flippers. My finger is pointing toward the wore out lever. Next take your allen wrench and remove the screw holding the switch assembly to the valve cover
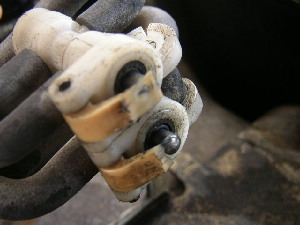
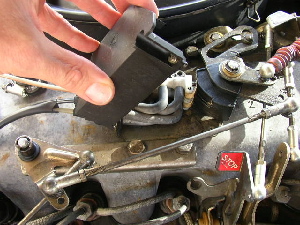
This is another angle of the worn out levers. Note the bottom lever was not working at all and the top was almost worn through.
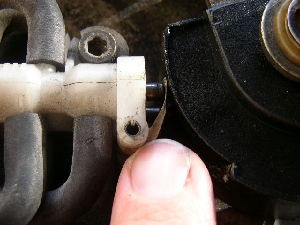
This is one of the new levers we will replace the worn out ones with. Note how much thicker the new part is compared to the old one. Note do not use grease to lubricate the wear points it will soften the plastic and wear it out faster.
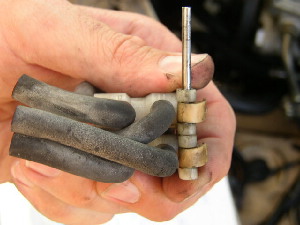
There is a small metal pin that slides through the whole assemble and through the flippers. Carefully take your very small screwdriver and push the pin out. It took me a while to get it this far. It is quite tight and we don't want to damage either the pin or the switch assembly.
Replace the worn out levers with the new one and put the pin back in the hole very carefully!
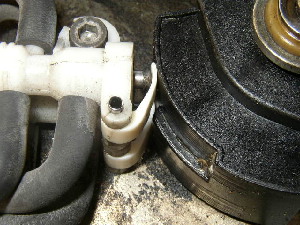
Replace the vacuum assembly back on the valve cover and tighten. Note how the throttle cam has groves that the flippers slide on at different degrees of rotation. My old levers were definitely not working at all. Replace the black cover and go on a test drive. You should notice a BIG improvement in shift quality and timing. Remember there are other components like the vacuum modulator, throttle linkage and transmission cable that all need to be tested, adjusted and replaced if necessary.
Enjoy!