|
How to Repair Your A/C System |
| Home |
| Bio diesel and WVO page |
All parts used in these pictorials are available at the diesel parts for sale page
How to repair your A/C system on your Mercedes diesel
With hot weather upon us in great force, not having a properly working A/C system can be a real steamer. The most common problem on Mercedes A/C systems from the 80's is a non-working compressor. Follow along on my quest to get "Astors" A/C blowing ice cubes again.
The car in question is a 1984 Mercedes 300 D with 262k miles. I have driven this car for more than 1 year, and the thought of suffering through another summer with no A/C finally got the best of me. I knew that the compressor was locked up when I bought the car, no surprises there. But the big question was, would the system hold vacuum and were any other components defective?
I borrowed a friends A/C vacuum pump before I did any work to make sure that I had no leaks. Fortunately the system held a perfect 29hg of vacuum. Not having to remove the evaporator or condenser, just makes the job that much easier.
These 80's vintage Mercedes use the GM design R-4 radial compressor. Typically these units are not known for their durability, however they are really cheap to replace compared to other compressors. Anytime you replace a compressor you MUST replace the drier and expansion valve. Not doing this will almost always cause the new compressor to go Kaput! The other item you must do, is flush the system. Flushing removes the contamination and debris from the seals in the compressor, that have found their way into the lines, and gets ride of old contaminated oil residue. You can use a flush gun or buy flush in an aerosol can made just for flushing A/C systems. Remember that the compressor is removed along with the expansion valve and drier, then all the lines, condenser, and evaporator are flushed. So on to the pics and procedures......
Safety and security tips:
Please remember to recycle all your used fluids at an appropriate recycling center. Be mindful to not spill or splash fluids on yourself, others or the ground. Also as a safety tip please remember anytime you are working on, around or under your car, to wear safety glasses and secure the car with wheel stops and approved jack stands!
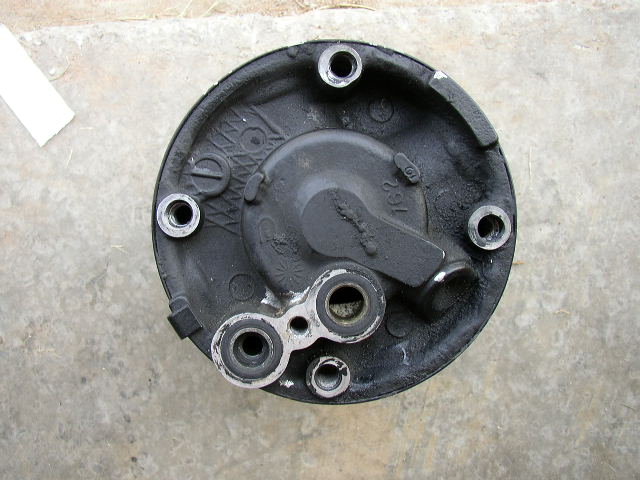
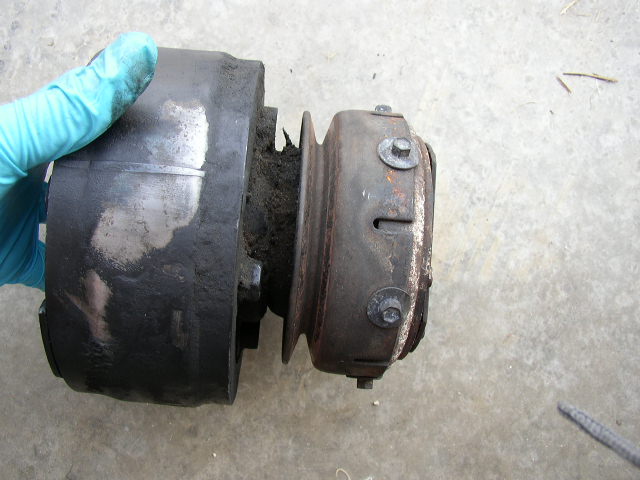
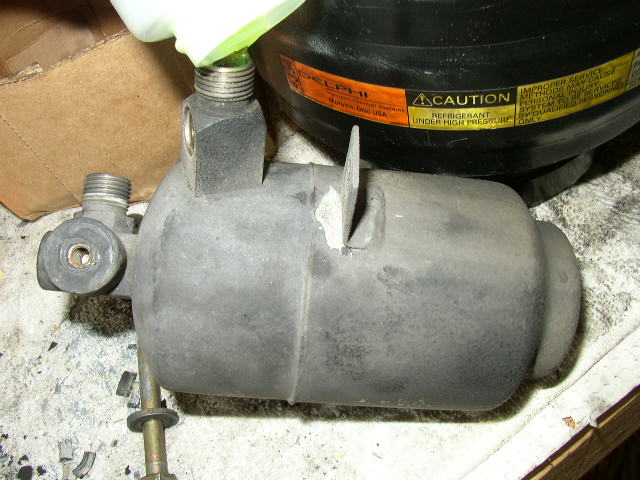
Here is the old compressor after I removed it from the car. As far as I know its original. Partial seizure...cause of death...NO OIL IN COMPRESSOR! When R-12 leaks out it takes oil with it. Probably no one ever bothered to add oil, just kept adding freon. Sad is it not?
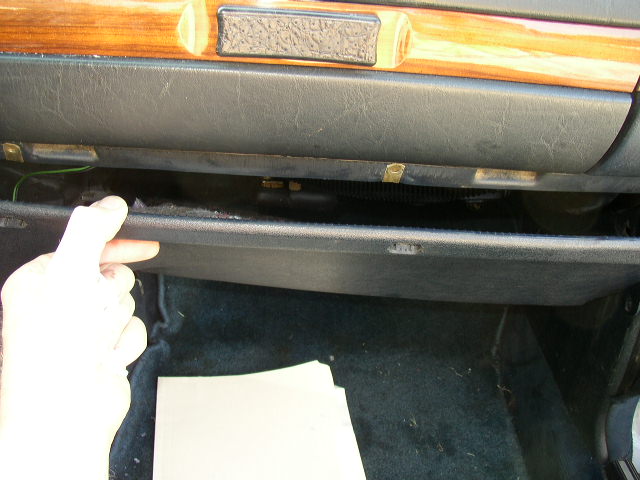

Next I removed the passenger side cover panel that hides the fan, evaporator box and expansion valve.
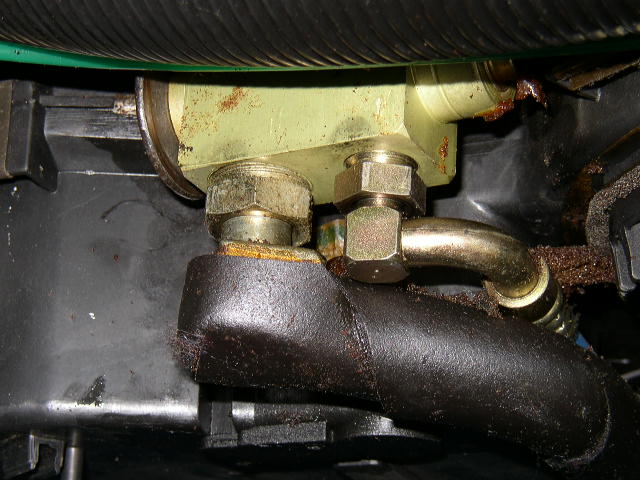
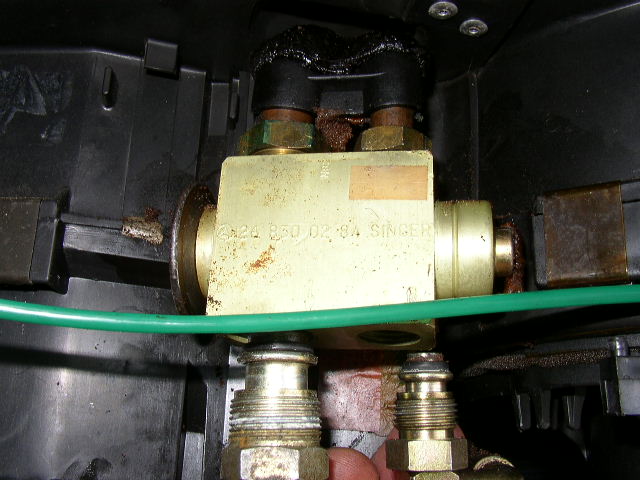
Close-up shot of the expansion valve. The upper 2 lines are the evaporator in and out lines. The lower right line is the high
pressure liquid line going to the expansion valve then to the evaporator. The lower left large line is the vapor or low pressure line going back to the compressor.
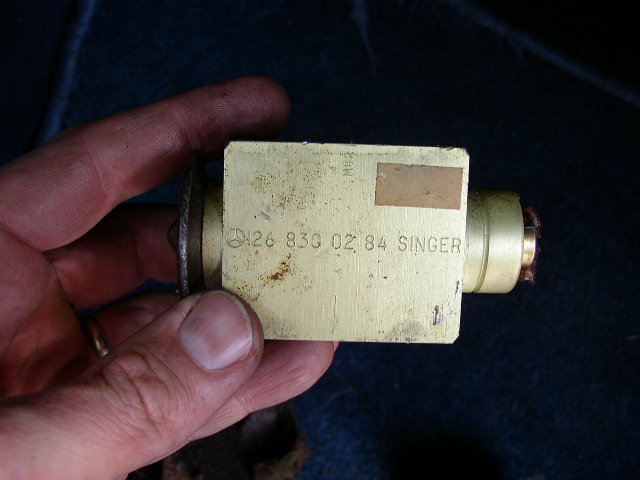
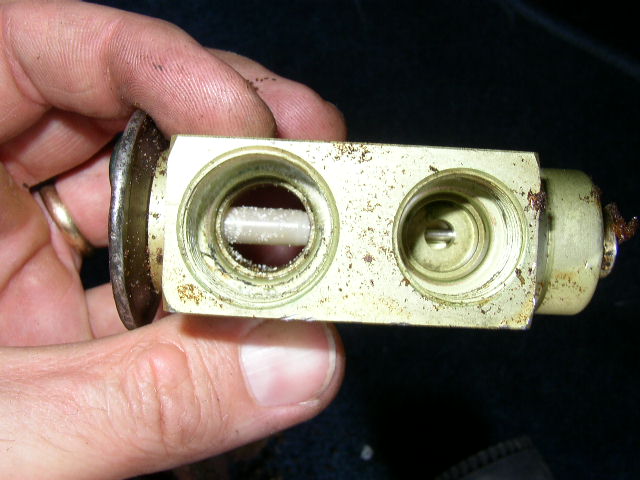
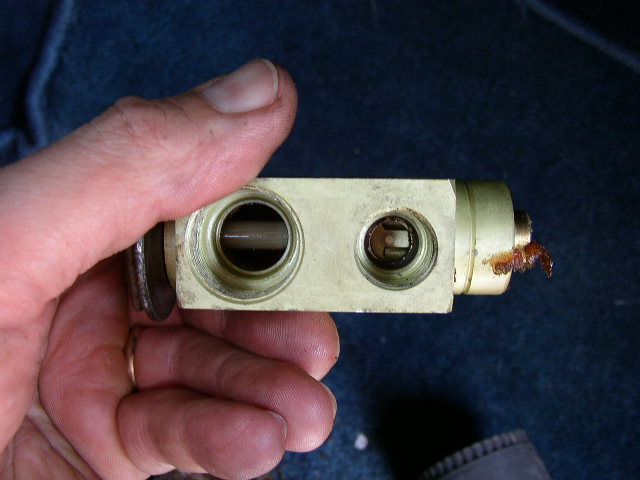
These are shots of the expansion valve removed. A fairly simple device. There is some mild corrosion in there after 20 plus years. The long rod running between the holes, will move to keep the evaporator filled to a proper temp of freon.
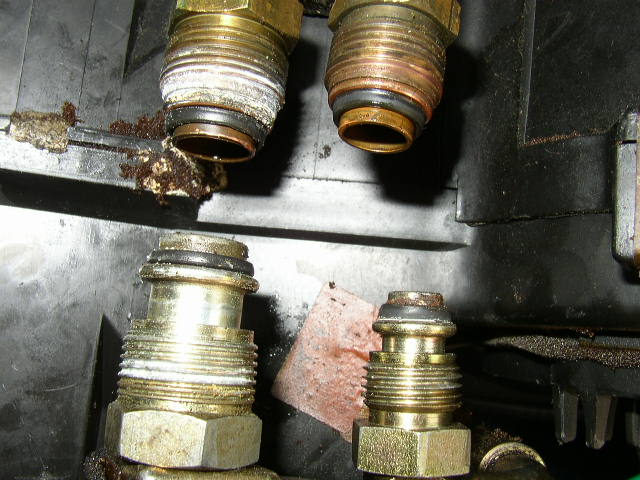
Shot of the lines with the expansion valve removed.
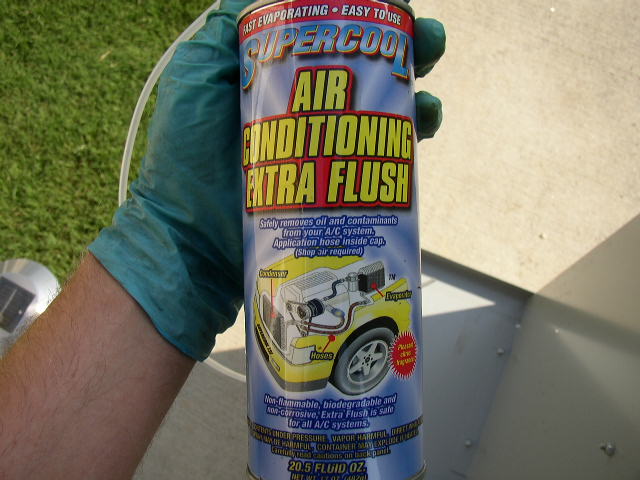
This is the product I used to flush out the system. I used 2 cans and LOTS of compressed air.
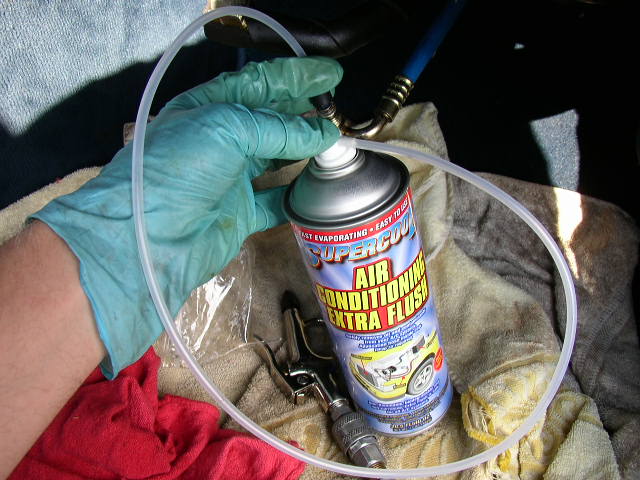
I flushed the evaporator and both lines in the bottom. Since the compressor is removed the fluid will shoot out where the compressor is when you flush the lower left line. Flushing the lower right line will shoot the fluid out of the "out" side of the drier. You did disconnect the drier right??
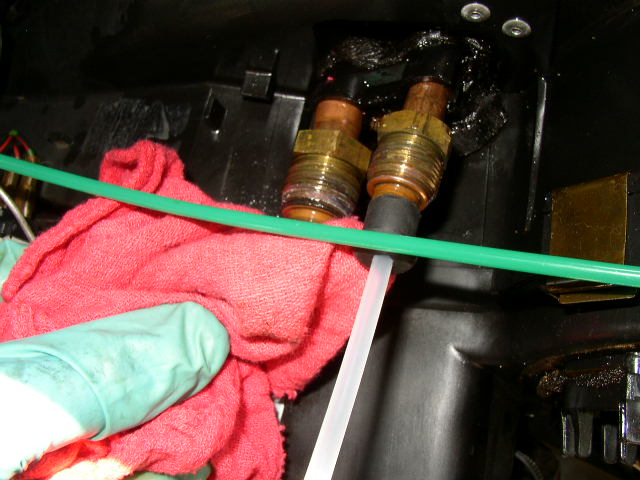
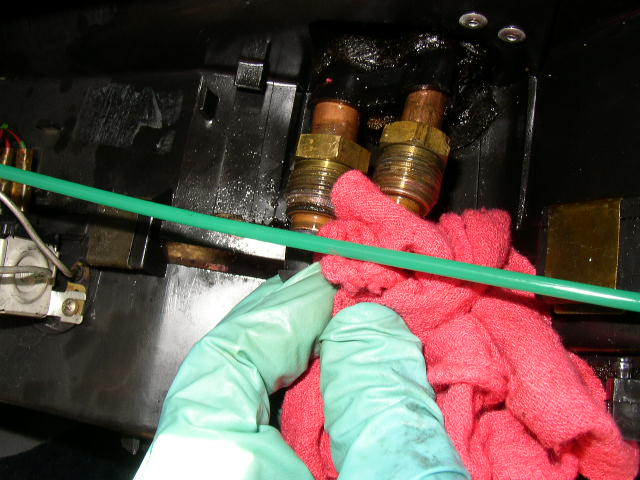
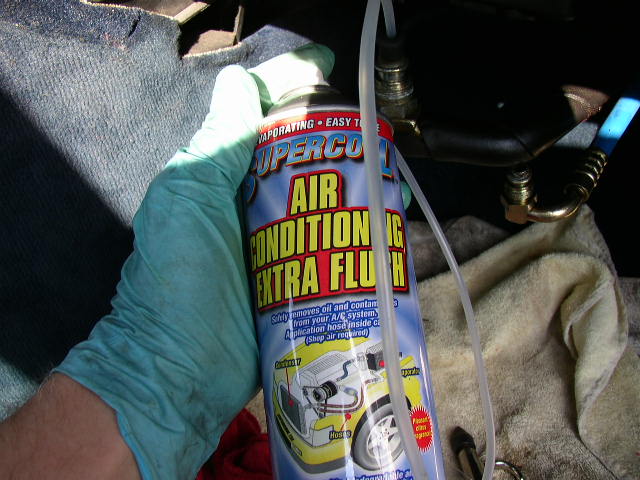
Prepare to have lots of towels on the floor board when you flush the upper 2 lines. They are the evaporator in and out lines. The fluid will shoot out like a cannon so wear gloves and eye protection.
After letting the fluid sit in the lines for about 10 minutes, I went back and blew compressed air through the lines to dry them. It will blow out with a great force, so go easy.
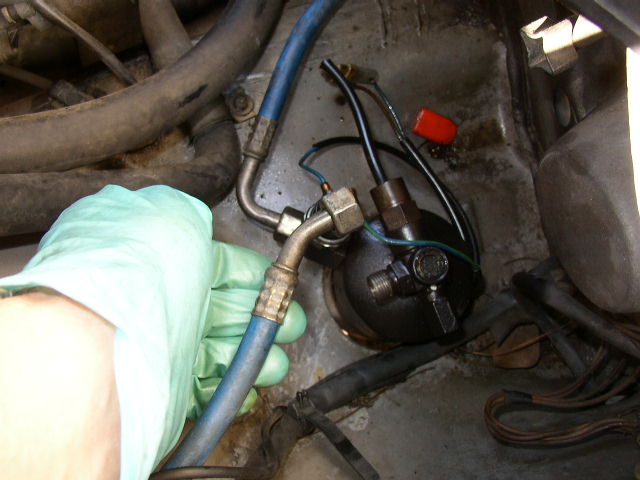
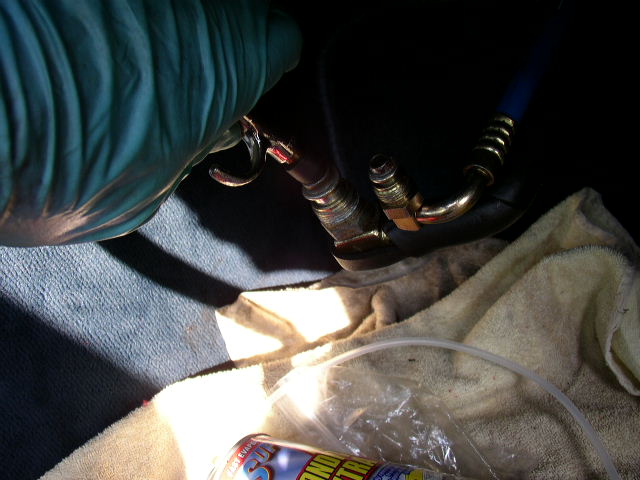
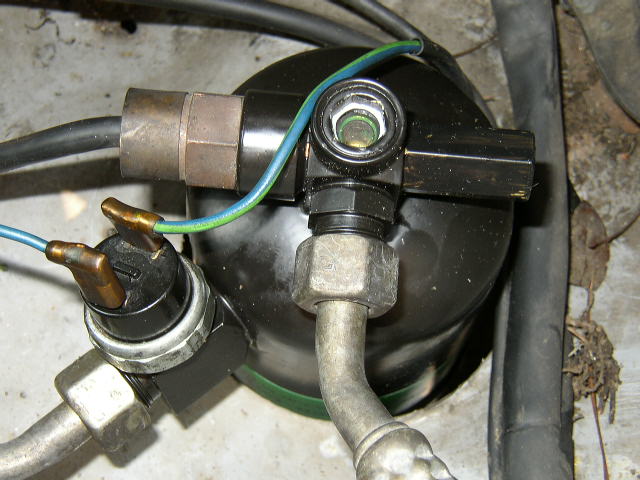
Here is a shot of the drier. The line I am holding is the outlet line from the drier and runs to the expansion valve. This is the line you want disconnected when flushing from inside the car. The other line on the drier is the inlet from the condenser.
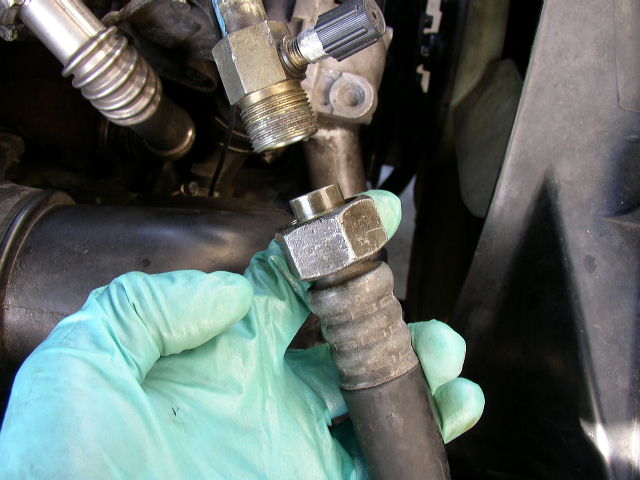
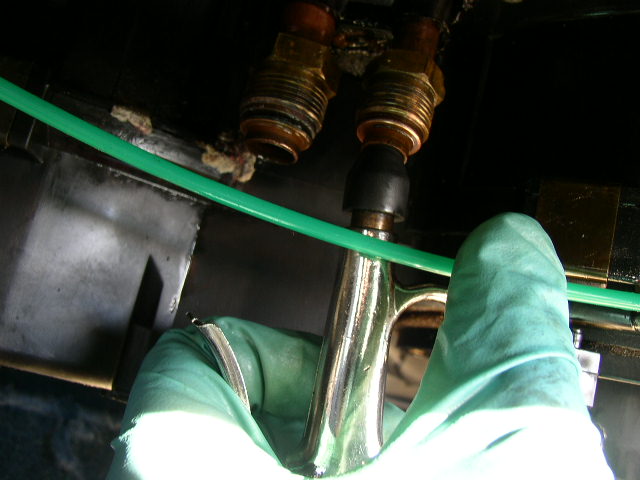
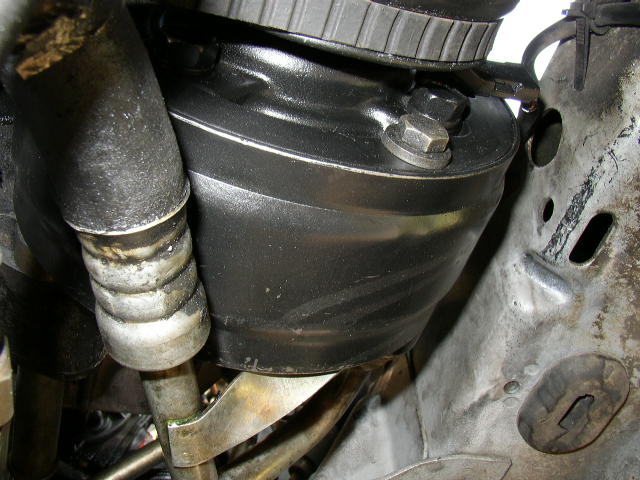
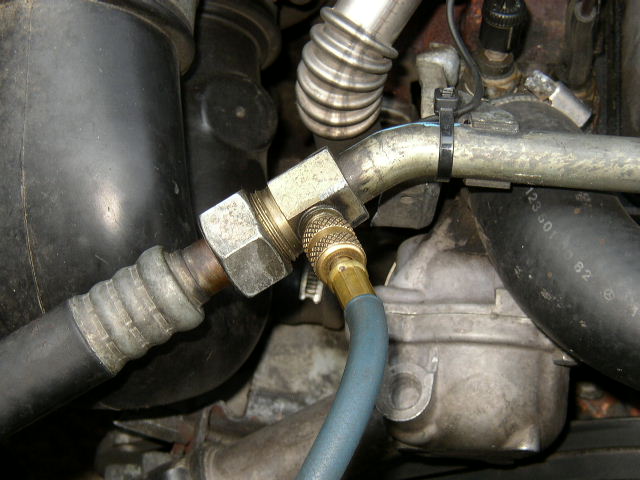
This is the low pressure side of the system that goes from the evaporator to the compressor. I disconnected it to help in blowing the fluid out. This hose goes "uphill" near the valve cover, then back down to the compressor. Just makes it easier to dry the line of the flush. I also flushed the uphill side separately. Not shown is flushing the conedensor and all other lines. You must do this to make the job complete.
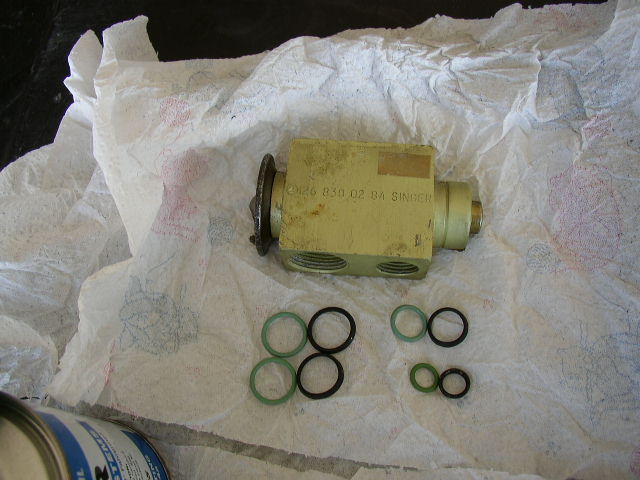
The black o rings are the originals, the green ones were procured at NAPA. Change the o rings on every joint you open! These are very cheap and easy to do since you already have it all apart. You don't want to be chasing leaks down after its all back together.
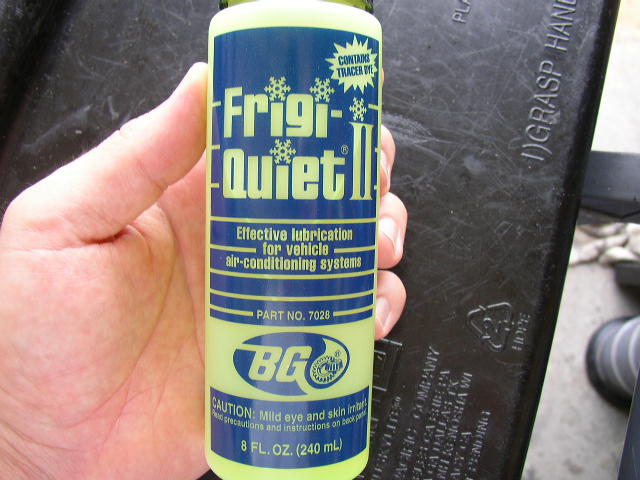
Since I decided not to put that junk R-134a in the benz, I will be using good ole R-12. The Benz system only hold 2.9 lbs and I have some "private stock" that I bought back in the 80's. No I won't sell any:) I could have used mineral oil just like the factory, but I want the R-4 compressor to actually live more than a few years. I am only using Frigi Quiet synthetic compressor oil from BG. Unlike PAG oil, this is totally compatible with R-12 and will lubricate much better than mineral oil.
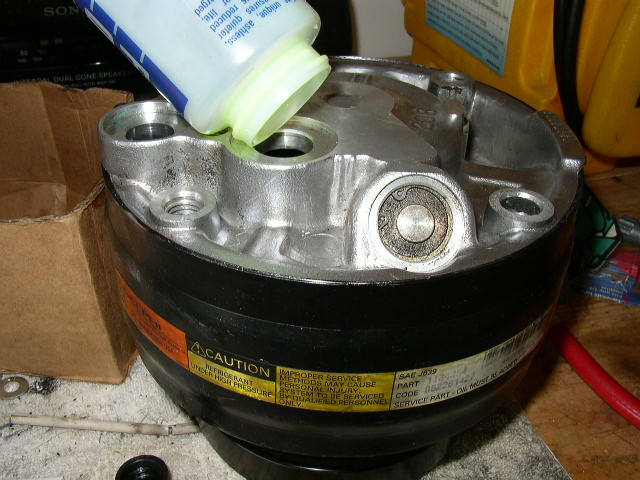
I removed all the oil that was in the new compressor which came to about 2ozs. I added 4 ozs of Frigi Quiet to the suction side of the compressor. I also put 4 ozs of the same oil in the new drier.
I then installed the compressor which took
hours. You need 3 hands to do it because it is so awkward to hold and get
the bolts started, all the while NOT letting the 3 spacers FALL on your
head. Then I installed the new drier and hooked up the lines and pressure
switches. I then installed the new expansion valve, very carefully.
After checking that the belts were nice and adjusted, I ran 2 jumper wires to
the compressor switch, started the car and applied 12 volts for 1-2
seconds. I did this about 5 times to circulate the oil in the
compressor. You can use a spanner wrench to turn the compressor by hand,
but I don't have one.
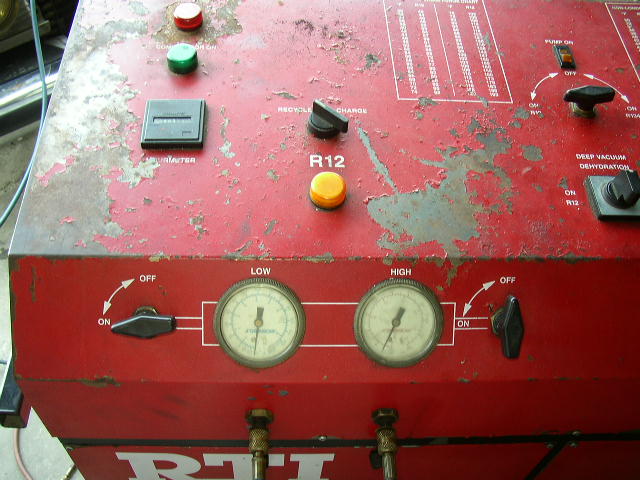
Then I took the car to my friends shop to use his A/C recycle charge machine. I pulled a vacuum for approximately 1 hour to make sure all the moisture was good and gone
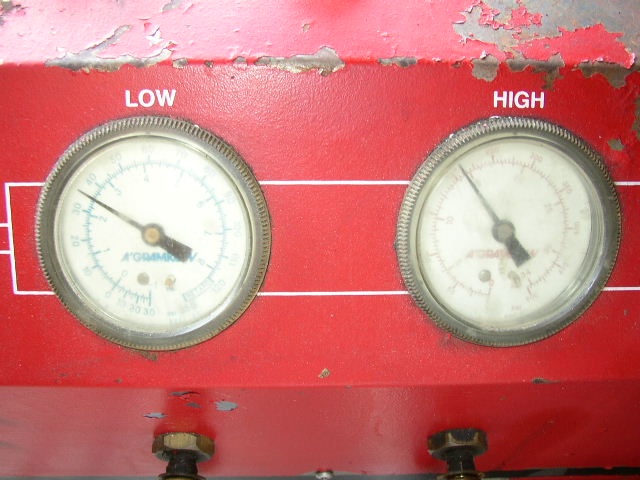
After vacuuming, I filled up the system with 2.6lbs of Freeze 12. Upon operating the A/C, I had very good pressure on both the low and high side.
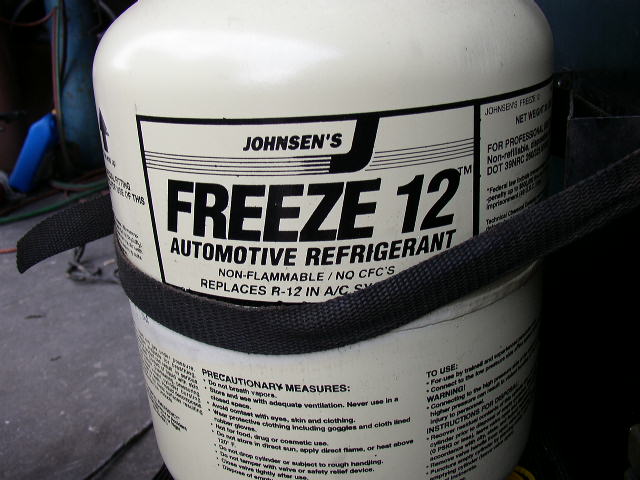
This is the freon I used instead of R-12. My freon jug was empty of R-12, so this what I decided to use. It is slightly colder than R-12. It is a drop in replacement for R-12 or 134a. Believe me it WORKS!
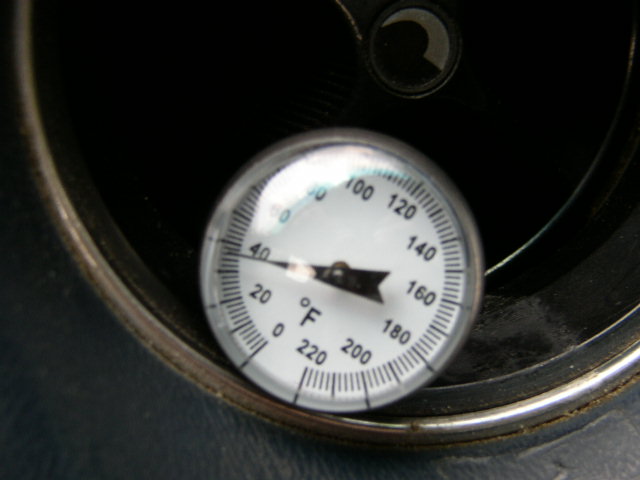
How about 38 degrees at the vent after the A/C is fixed on an almost 90 degree day with high Georgia humidity. This is what it is all about. Ice cold A/C!
This is not a hard job to do at all. You must pay attention to detail and not get in a hurry.