|
Repair a Broken Seat Spring |
| Home |
| Bio diesel and WVO page |
All parts used in these pictorials are available at the diesel parts for sale page
How to repair a broken seat spring
One of the most irritating items to me, on the older Mercedes autos, is the seats. By the time we actually get the cars, they are over 20 years old. Most of the time the seats and springs are the originals. Mercedes has THE most durable seat upholstery in the automotive industry, MB Tex. A wonderful leather like VINYL that seems to deify age and is nearly indestructible. How Mercedes was able to make such a durable vinyl that does not get hard or fade very much with age, is certainly an industrial secret. Well as nice as the upholstery is, the seat spring box seems to be at times, a second class citizen. In all fairness, most of these cars were sold to the wealthy, who as in most of the industrialized world, seem to be a little on the heavy side. Heavy people on springs combined with age, will over time cause them to sag and break.
Since a new seat spring box is so expensive, I wanted to help you with a neat little fix for broken springs that I came up with, that cost less than a few dollars. In the tradition of using parts I have around the shop for repairs, we will use some old Mercedes fuel injection line for the repair. So follow along as we fix a broken seat spring.......
Safety and security tips:
Please remember to recycle all your used fluids at an appropriate recycling center. Be mindful to not spill or splash fluids on yourself, others or the ground. Also as a safety tip please remember anytime you are working on, around or under your car, to wear safety glasses and secure the car with wheel stops and approved jack stands!
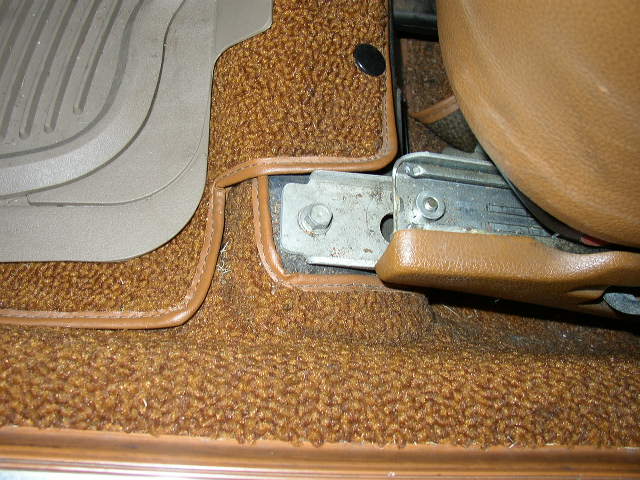
First we need to remove the seat from the car. Remove the 2 front bolts holding the seat to the floor]
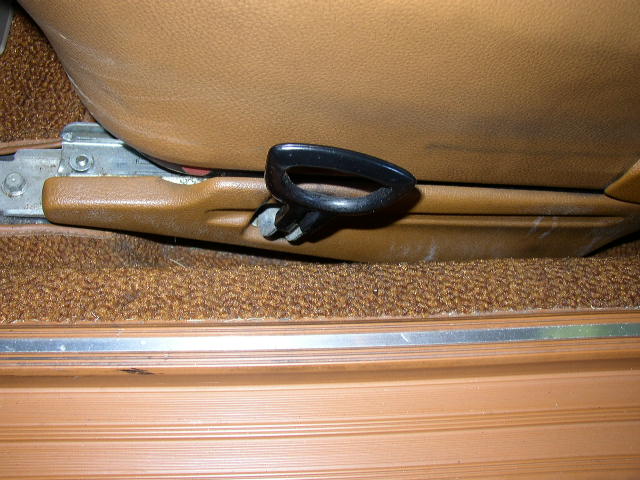
Then slide the seat all the way forward and using the height handle (pic), slide the seat up or forward. You must do this so you will have clearance to get a the back 2 bolts.
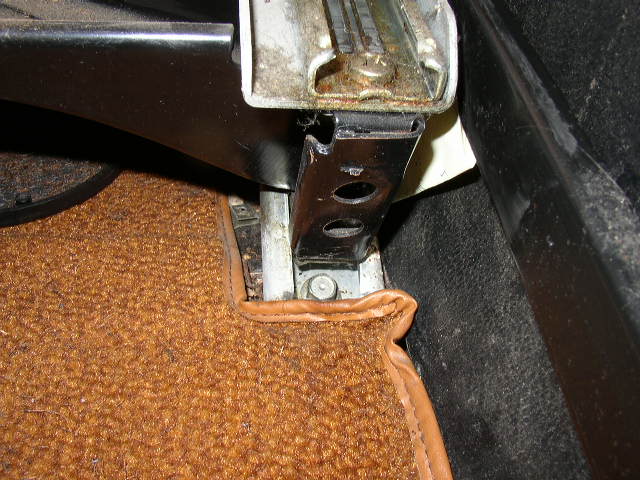
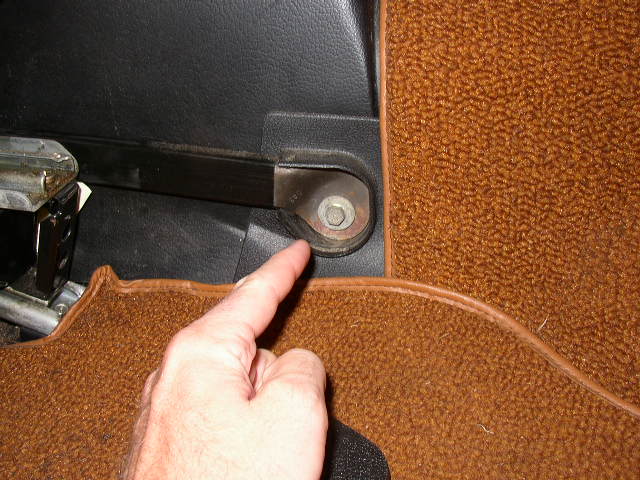
Now remove the back 2 bolts holding the seat down. Also remove the seat belt guide anchor bolt on the transmission tunnel. Then raise the seat back so it is straight up, fold the arm rest up and lower the head rest. Now carefully remove the seat. You may need to disconnect the electrical connection under the seat if applicable. Put the seat up side down on something like a towel to keep from scratching or damaging it.
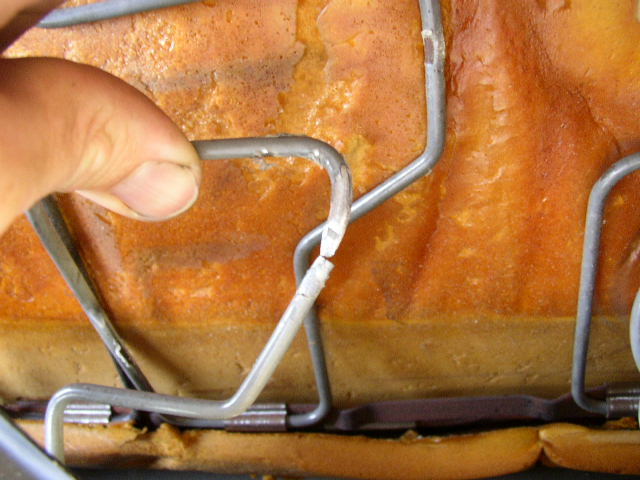
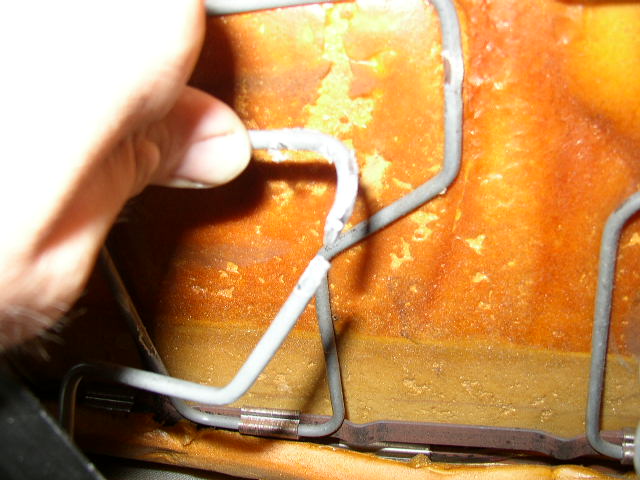
Here is the problem, a broken seat spring on the drivers seat, outside edge nearest the door. Since this portion of the seat is where the most movement of entering and exiting the vehicle is, this is the most common breakage area. We need to devise a way to keep the pieces together, keep them from separating in the future and keep the proper "spring rate" so the seat feels normal.
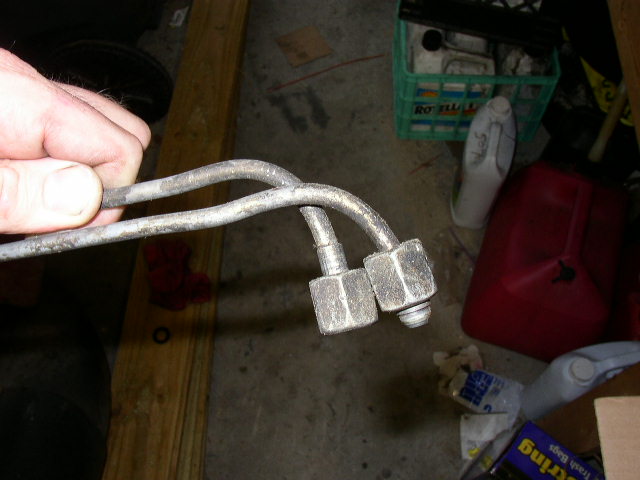
I decided the best course was to make a collar to encase both pieces of spring. Looking around the shop I spotted some old 617 injection fuel line. Hmmm I though...I can make that work.........
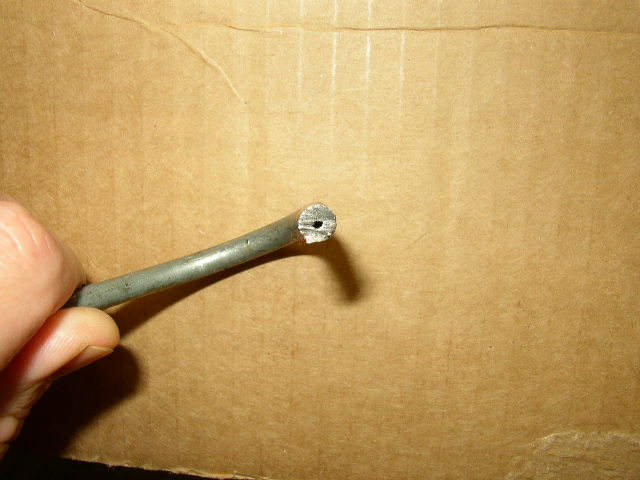
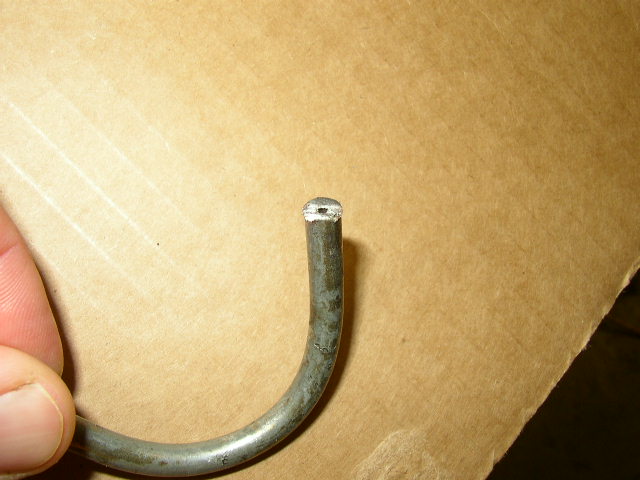
Fuel injection line has an inside diameter of less than the tip if a pencil. I bet you though it was bigger! So to make this work for us, we need to increase the inside diameter so it will fit on the spring.......

I took a drill bit that was just a little smaller than the outside diameter of the line, reamed it out and cut a piece off. This makes a very nice and stable collar for our fix.
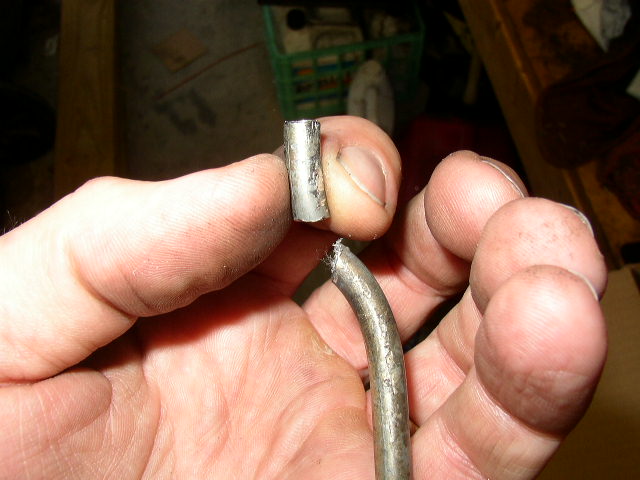
Next, I ground down the spring a little, so the collar would fit on both ends very snug. This is a try-fit-grind process. It took me several tries to get a good tight fit on both ends of the spring.
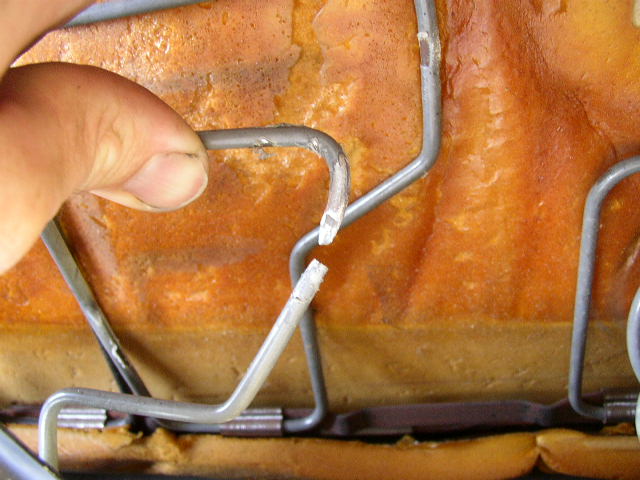
Here is the spring end ground down so it will fit the collar tightly.
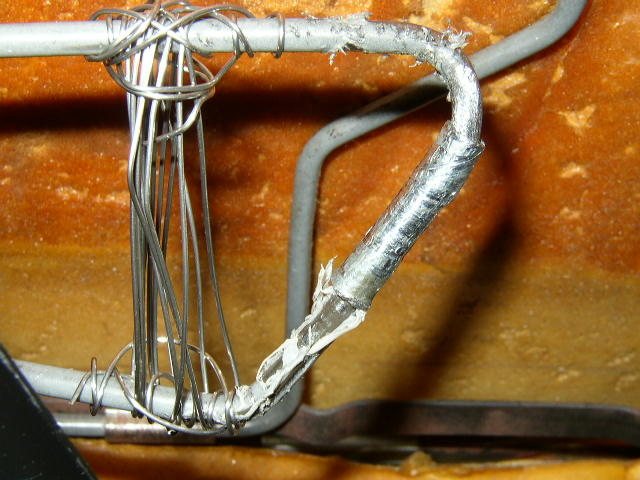
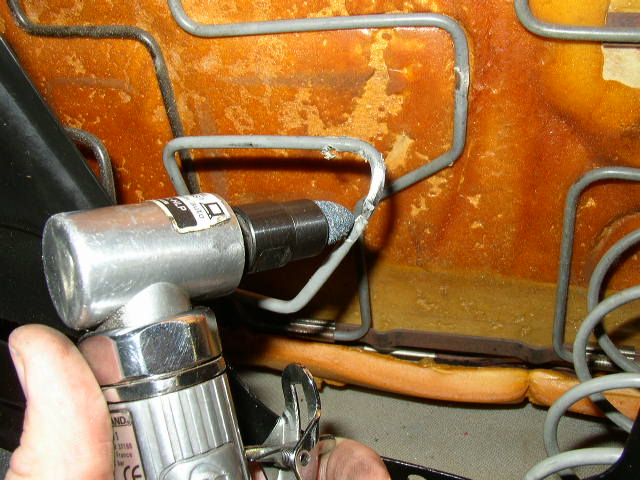
Next I installed the collar so the spring fit in both ends very snug. I took some safety wire and wrapped the spring so it would not pull out of the collar. Please don't skip this step. When the spring flexes down, it wants to separate from the collar. The wires only function, is to keep the angle of the spring from changing and pulling out of the collar. The stiffness of the collar will ensure the spring does not flex and will keep the proper spring rate. Doing this will make the seat feel like new again. Well as new as it would without a broken spring.
If you have more than one broken spring, go ahead fix them all with this method.
All that is left to do is, reinstall the seat and enjoy!