|
Mercedes Master Vacuum Switch and Door Panel Removal Includes additional vacuum troubleshooting as well |
| Home |
| Bio diesel and WVO page |
All parts used in these pictorials are available at the diesel parts for sale page
Mercedes Master Vacuum Switch and Door Panel Removal
I realized that I did not have some of the "basic" maintenance items for those new to the Mercedes diesels. I will start a whole series devoted to basic maintenance of these cars, just for those new to either car repair, or just new to the diesels. The car used in this pictorial is a 1985 300cd. The procedures for almost any Mercedes diesel will be almost the same.
Safety and security tips:
Please remember to recycle all your used fluids at an appropriate recycling center. Be mindful to not spill or splash fluids on yourself, others or the ground. Also as a safety tip please remember anytime you are working on, around or under your car, to wear safety glasses and secure the car with wheel stops and approved jack stands!
Well here is one of those jobs that seems to be a mystery to many. The master vacuum switch is one little item that can reek havoc on your vacuum system. Why you may ask? They tend to leak after 20 plus years and cause other components to either not work or work improperly. This little switch is the "brain" of the central locking system on the Mercedes diesel. It receives the vacuum supply and via internal valving, directs it in one of two hoses to the rest of the vacuum components (i.e. door locks, trunk lock, fuel door lock). Almost everyone I have seen if original leaks. Time and use degrade the inside and leaks develop. Leaking vacuum switches will drain the vacuum reservoir and render the central locking system null when bled down. They can also cause the car to fail to shut off if the leak is big enough. Yes the CD was getting slow to shut off if the drivers door lock switch was in the lock position, so I just made sure it was always unlocked when I went to shut her down. I got tired of that foolishness and here we are.
The car that is getting the transplant is the 1985 300CD that I have been driving for the last couple of months. I decided to show the door panel removal and some vacuum tracing tricks to find those other pesky leaks. Yes I found another leak where most people would not even look.
I am definitely all smiles after finally doing what I should have done many months ago, but just did not have the time due to school. I can only stress that this is one of those jobs that is well worth the effort.
So lets not waste time and dive right in.....
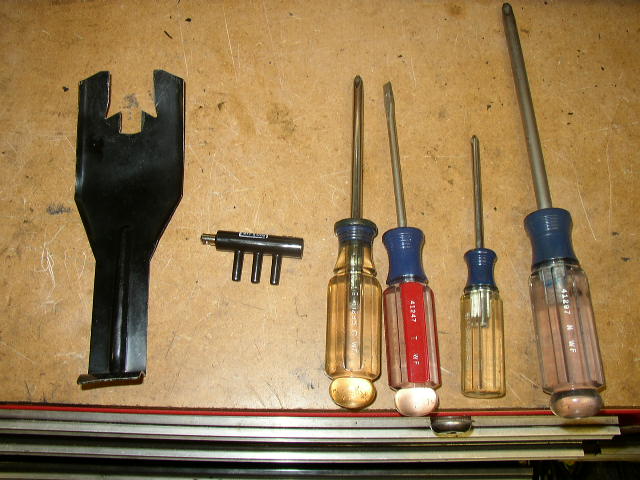
Basic Philips and flat blade screwdrivers, door panel removal tool is recommended to decrease the chance of damage and of course the master vacuum switch. Depending on the model and year your master vacuum switch may be of the white design and slightly different, but functions the same. Also not shown is the hot melt glue gun I used to reattach some vinyl to the door panel.
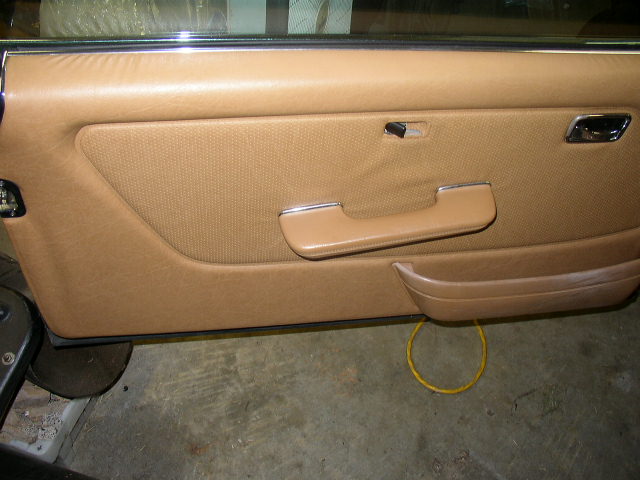
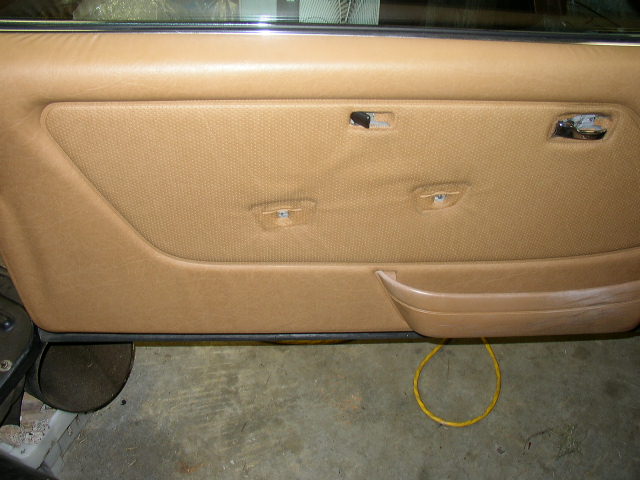
This obviously is a coupe, so you sedan drivers will have a shorter door but panel removal is the same.

On coupes only, remove the end chrome plate.....
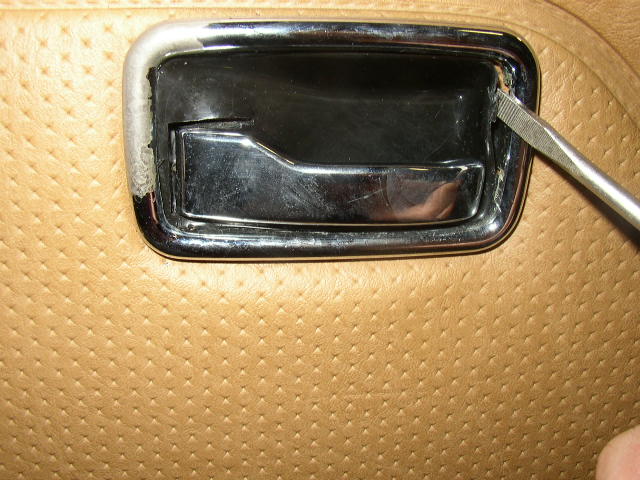
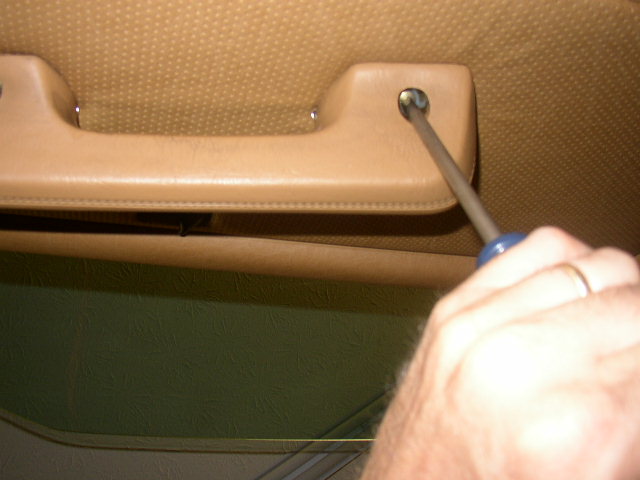
Very gently with a small flat blade, remove the plastic insert at the door handle.....
Pull away and expose the hidden screw......
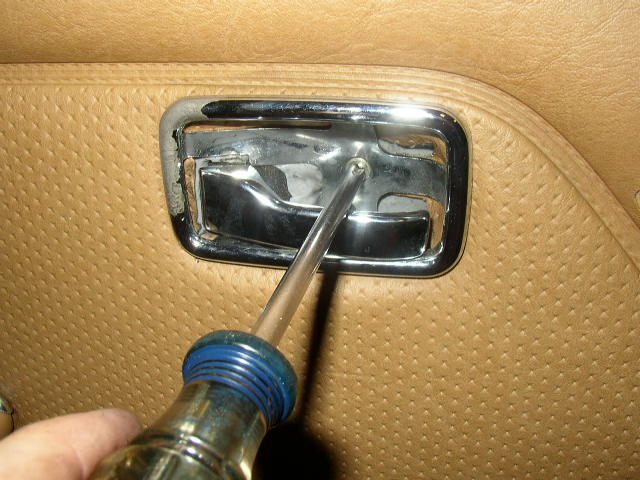
Remove the hidden screw......
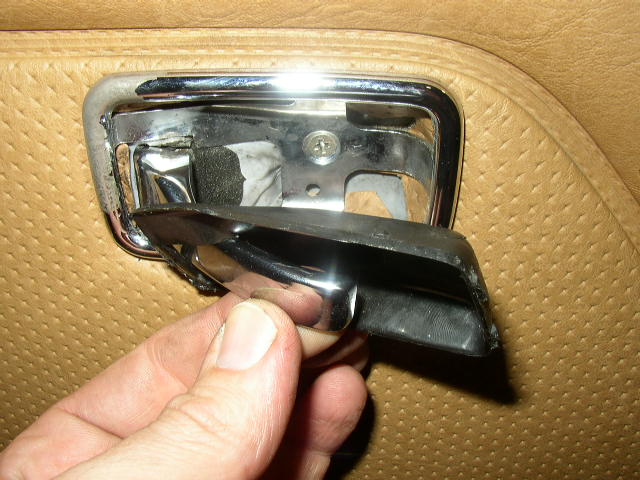
Gently remove the chrome insert......
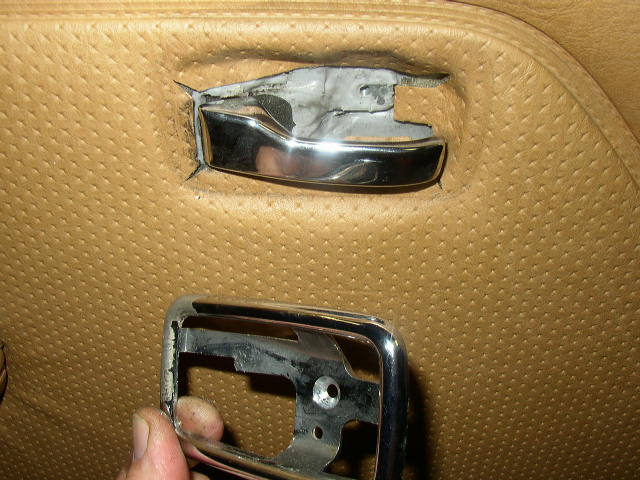
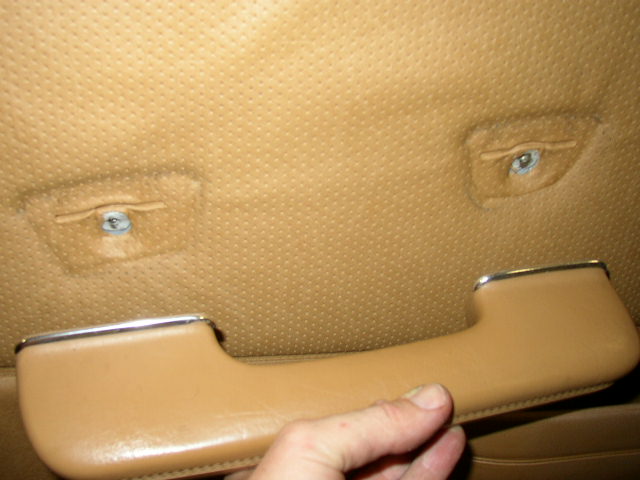
Remove the door striker guard.....
Upside down shot of the 2 large Philips screws holding the door handle to the door...
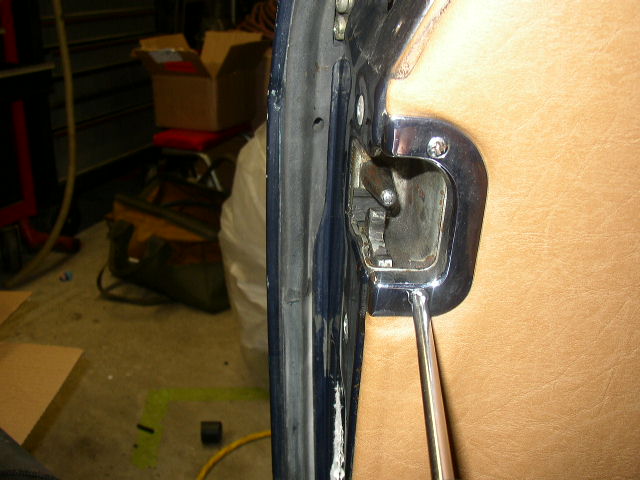
Remove the 2 screws........
Gently pull away from the panel....
Now for the fun part, removing the actual panel. Care must be exercised and patience when removing these. They are very fragile and cost a fortune from Mercedes if damaged...
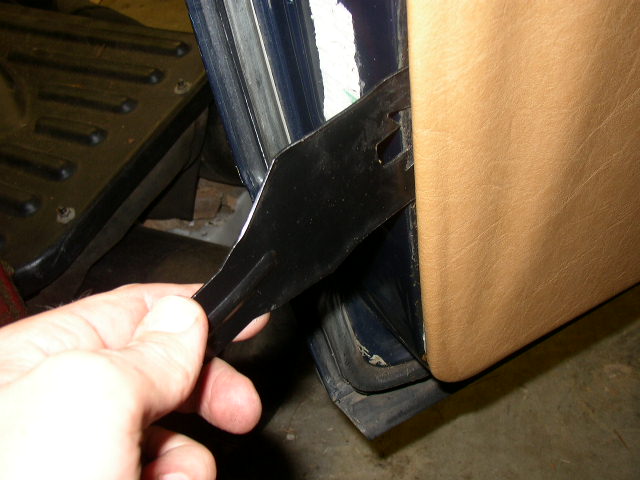
Here is where the door panel tool is a must. Do NOT use a screwdriver, if you must use something else use a very wide putty knife. The screwdriver is too narrow and can break the press board. Take the tool and gently pry the clips out of the door. They are plastic and will pop right out. Work your way from the side to the bottom....
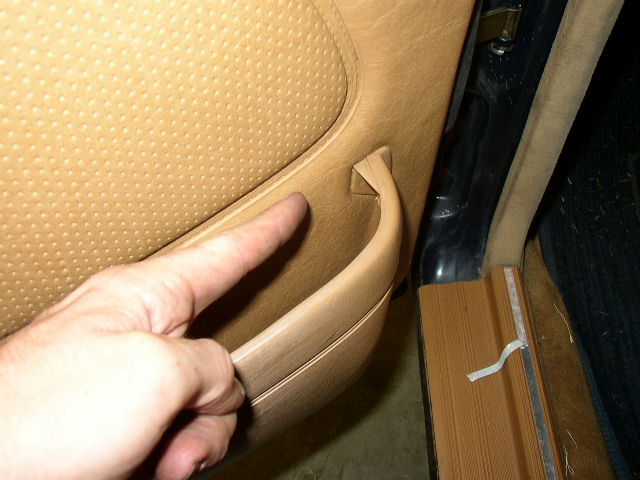
Now here is where the beginner makes the big mistake, the door pocket. Some panels have an L shaped clip the holds the end of the door pocket to the door. If you pull the door panel straight out like I have done before you will snap off the L clip and have a floppy door pocket. So after all the out clips are loose gently lift up on the panel and the L clip should disengage.
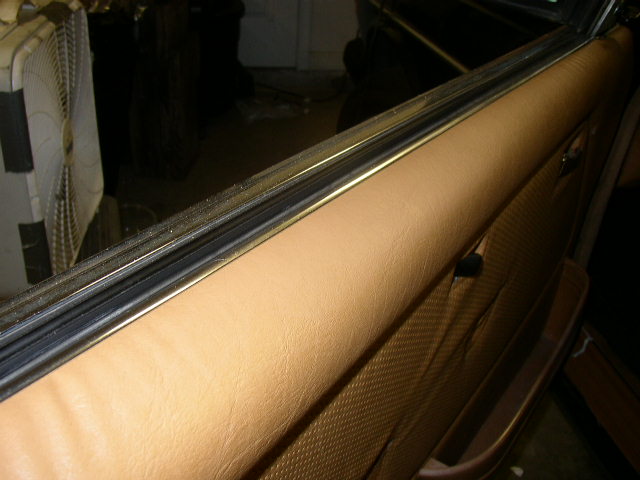
The inside rubber window trim is held on the metal portion of the door and the door panel, and is removed by just lifting up with both hands....
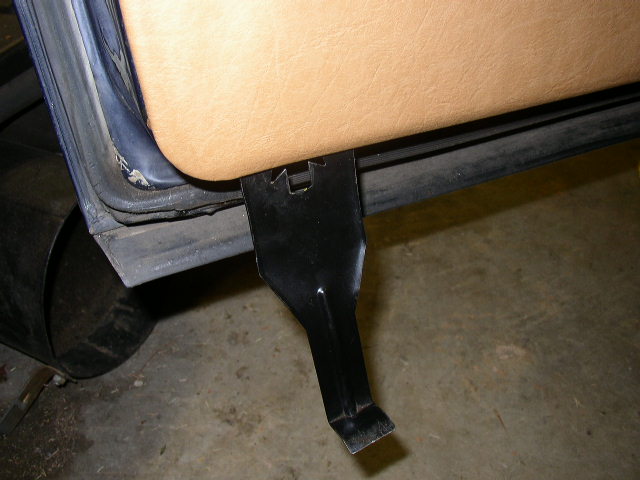
This is the map pocket L bracket on the back of the panel. On the sedans this bracket is much more pronounced and longer....
This is the hole in the door that the bracket slides into......

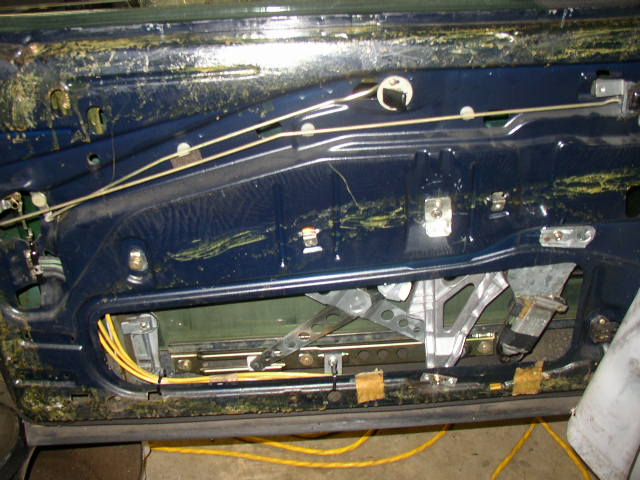
Here is the back of the door panel. Many of the panel clips on the edge will probably be broken so now is a good time to replace them. Trust me do it now and the panel will not flip and flop around....

Under the door panel is the plastic moisture shield. Do not discard this and be very gentle when removing it....
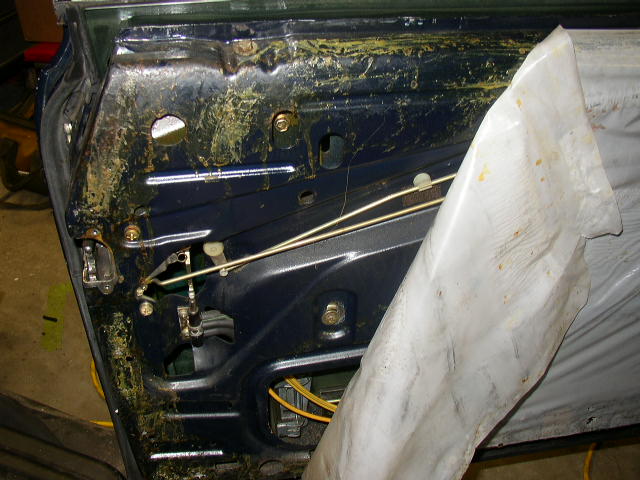
Slowly peel the barrier back to expose the guts of the door...
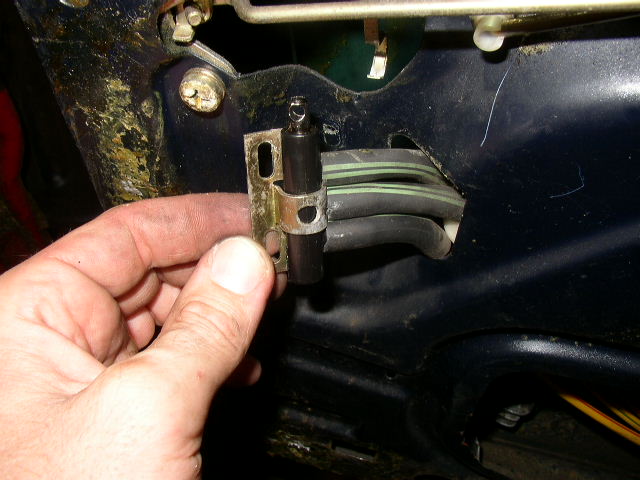
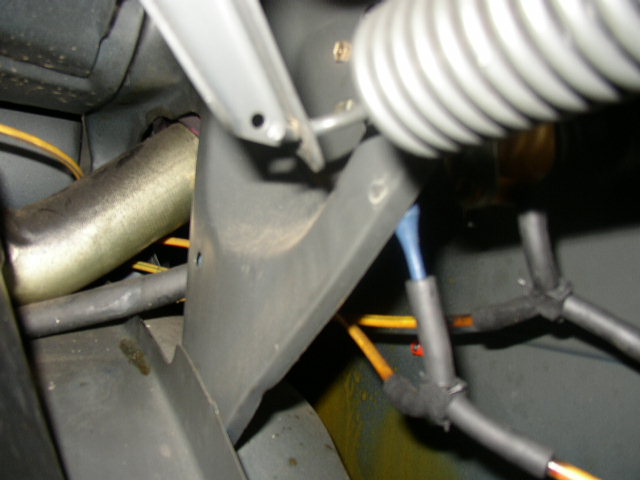
Here is the master vacuum switch in all its glory....
New switch getting ready to take its rightful place.....
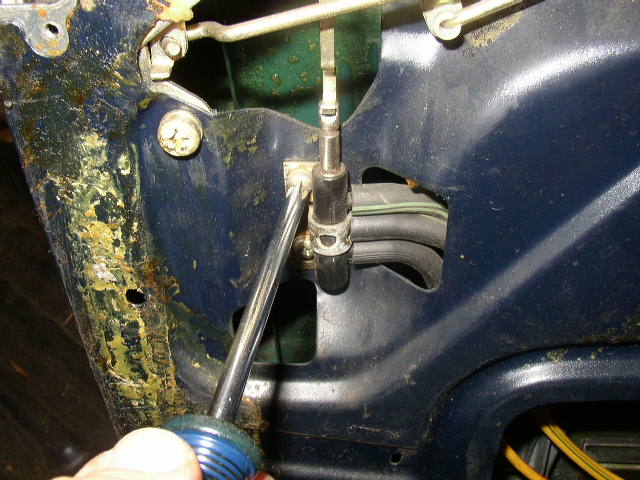
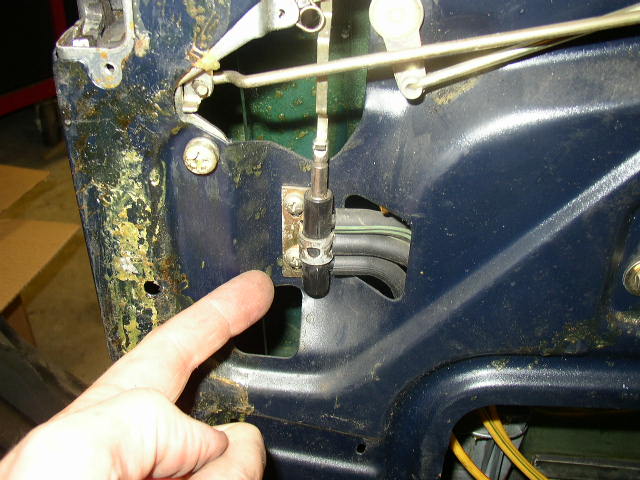
Mark the bracket on the door, as the holes are slotted and must be installed in the correct orientation on install. Remove the screws holding the retaining bracket....

Gently disengage the push/pull rod from the top of the switch....
Carefully pull the assembly through the door to have better working room....
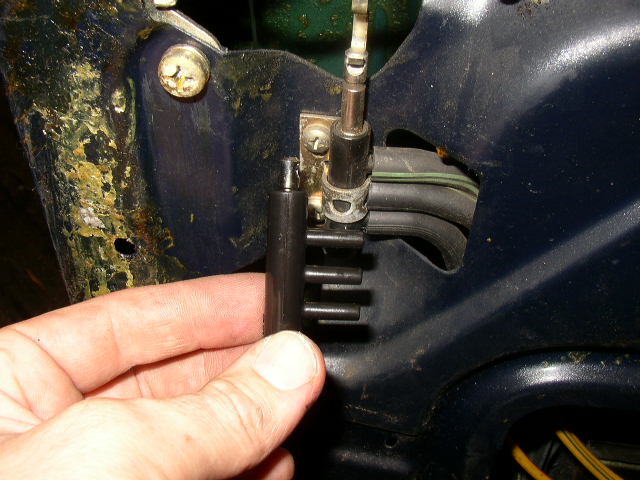
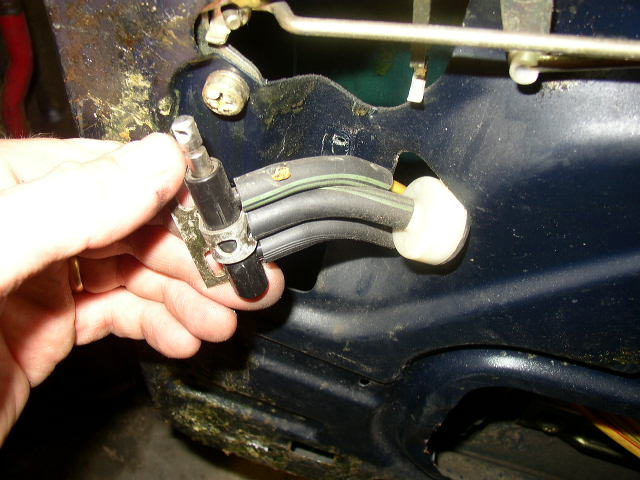
Remove one line at a time so as to not get them mixed up. All three lines are yellow but one is solid, one has a red strip and the other has a green strip. If you want to at this point you should get out your hand vacuum pump and test the lines and see if you have any leaks other than the switch. Since the door panel is already off it save lots of time....
As I removed a line I installed it on the new switch to make it easier...
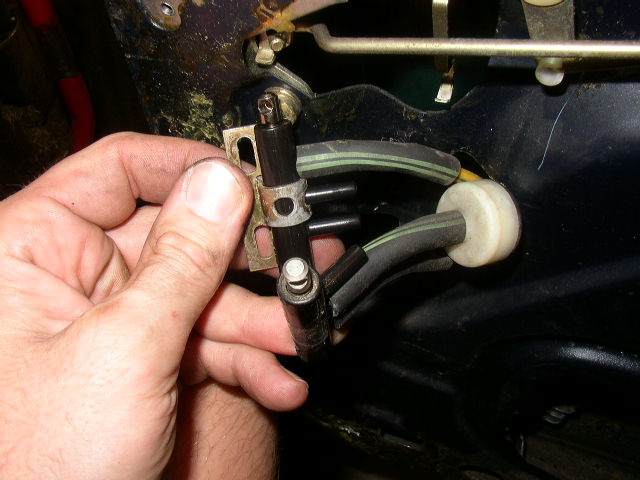
All lines installed and ready for another 20 years.

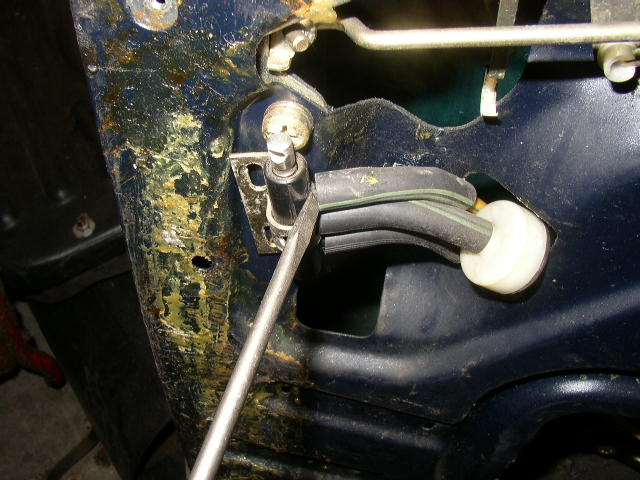
Switch installed in the correct orientation and push/pull rod connected...
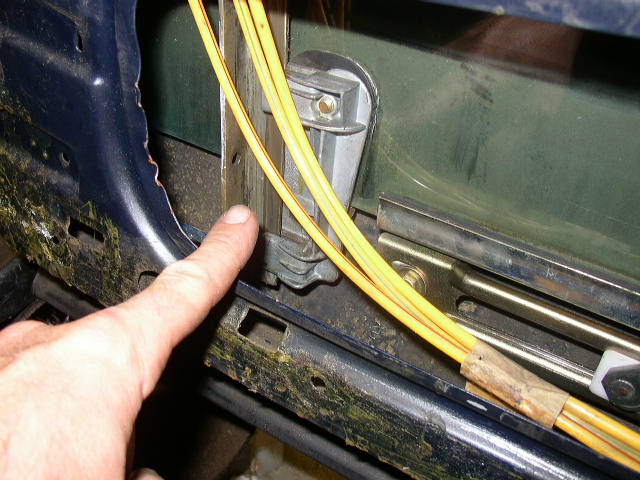
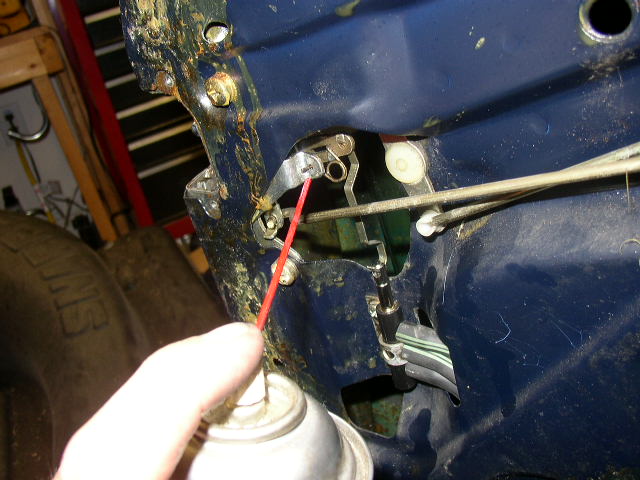
Now is the time to make sure the lines are secured and NOT touching the window track. This is how line leaks develop.
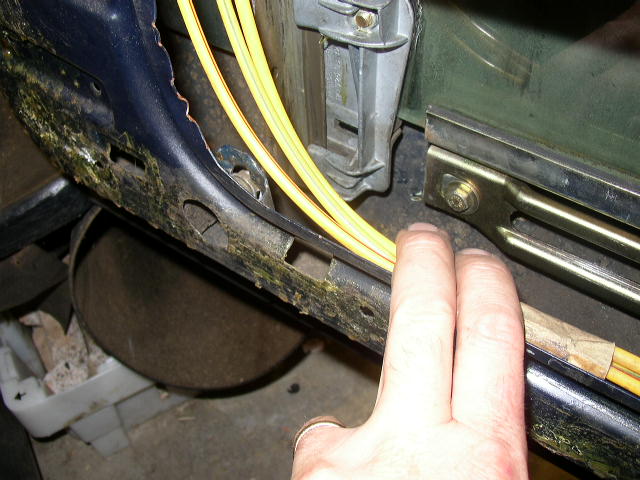
Check to make sure the lines have enough slack when pulled against the door....
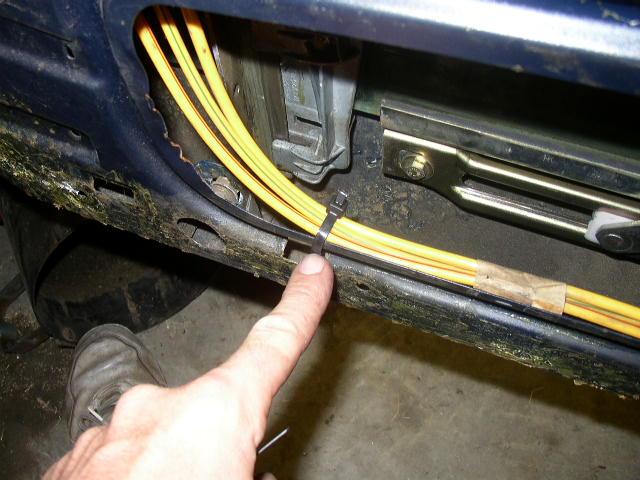
Zip tie them to secure them. The factory used a tape that looks like masking tape and is usually past its prime.
Now is the time to grease the tracks, tighten bolts, check the plastic sliders and do a good once over while the panel is off.
I used silicone spray to lube the linkage....
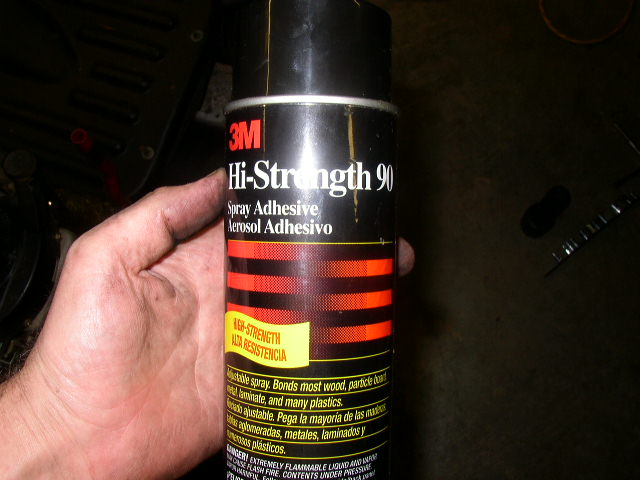
Reinstalling the moisture barrier takes a nice spray adhesive like this...
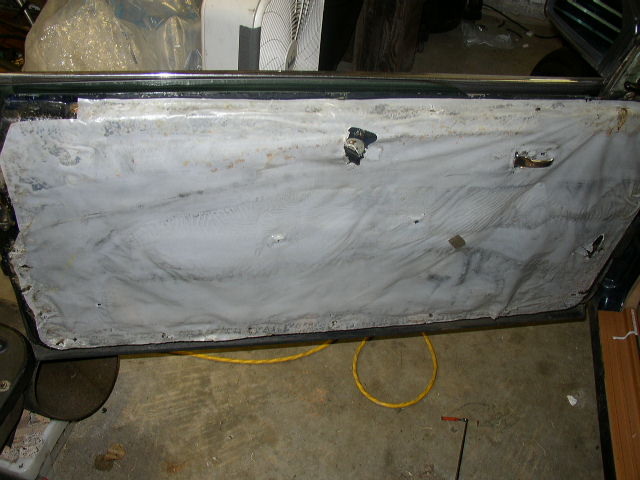
Spray the edges where the old glue was and re-secure the moisture barrier.
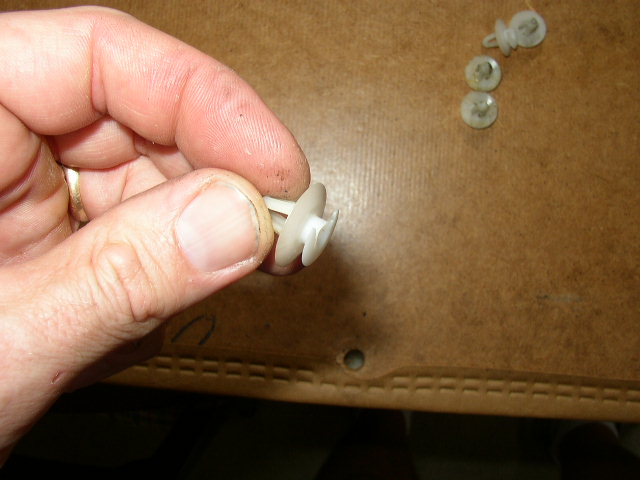
I made sure that all the door panel clips were in good shape with no broken ones being reinstalled.....
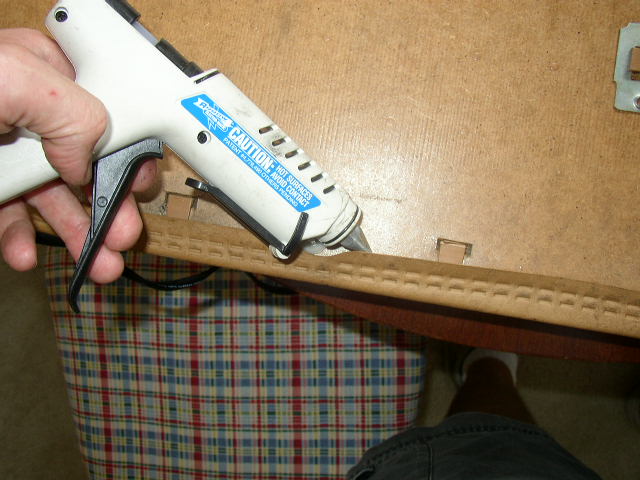
Since the panel is 21 years old the edges on the back were getting loose, so I used a hot melt glue gun to reattach the vinyl to the board. Works like a charm and will not come loose again. Hot melt glue is one of the best adhesives for this type of work I know of...
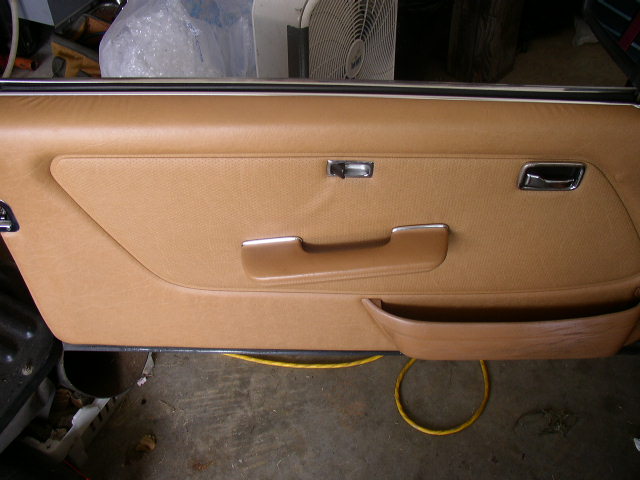
Panel back one is just the reversal of removal. Wow its nice to have that back on the door.
I knew that I still had a leak somewhere in the yellow line with a red stripe. So I checked the passenger door vacuum diaphragm and it was fine. Then I went to the trunk and tested the vacuum lock....
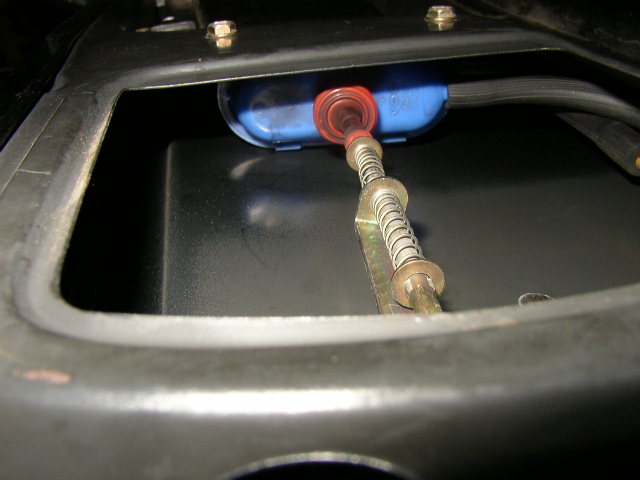
Remove the plastic access panel and then the two screws holding the vacuum element to the sheet metal. Use your hand pump and test both nipples and then the lines. I found the element fine and still had a leak in the yellow line with the red stripe....
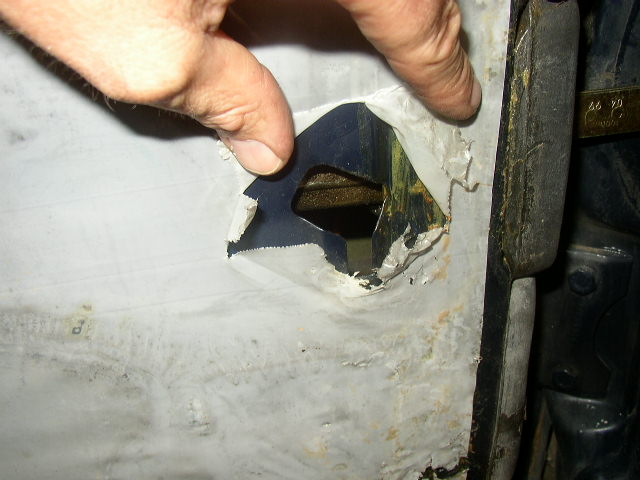
The next stop on the vacuum train is the fuel door lock. Bingo! A swollen connection and a bad diaphragm. Both of these was causing the leak. To make a temporary repair I use a golf tee to plug the offending line and no more vacuum leaks. After the car was shut off I operated the locks about 10 times and even let it sit overnight and still operated the lock several more times. What a relief. I will install a new element when I get a chance.
This is one of those jobs that make you smile when you are done. Its so nice to have the lock operate like Mercedes intended to. Just need to install the fuel door element and were done. I will update that here next week.
Enjoy.