|
Mercedes Bumper Filler Install |
| Home |
| Bio diesel and WVO page |
All parts used in these pictorials are available at the diesel parts for sale page
Safety and security tips:
Please remember to recycle all your used fluids at an appropriate recycling center. Be mindful to not spill or splash fluids on yourself, others or the ground. Also as a safety tip please remember anytime you are working on, around or under your car, to wear safety glasses and secure the car with wheel stops and approved jack stands!
Mercedes Bumper Filler Install
Ok admit it, the bumper filler on the corners of your bumper look like crud. Either they are torn, missing or just mangled. Nothing makes a car look right than a set of new shinny bumper fillers. On this pictorial I had a ripped filler on the front bumper that I was sick and tired of looking at. So since I happed to have a spare one in the shop. I decided to finally install it. Its not a hard job I just hate anything even remotely kin to body work. I would rather get greasy under the hood. But I digress.
So lets not waste any more time and jump right in....
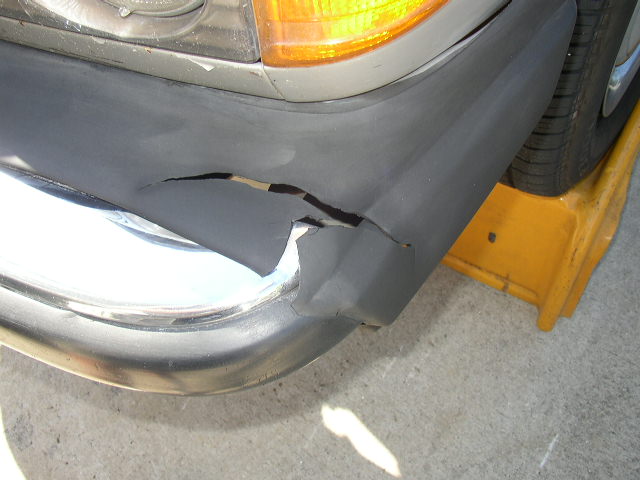
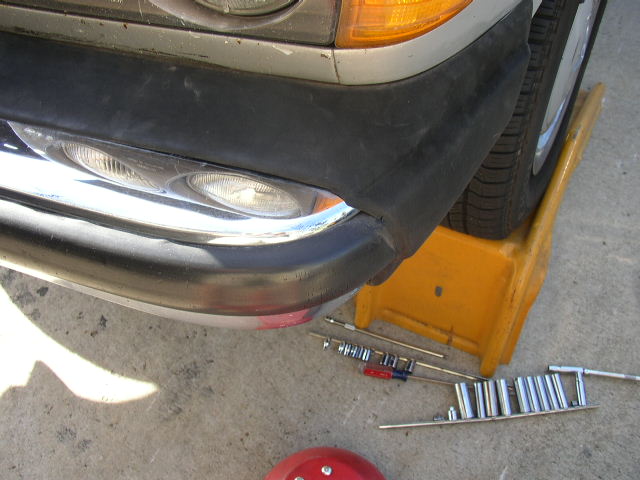
This bumper filler was on the car WAAAAY too long. Looks like nobody cares.....
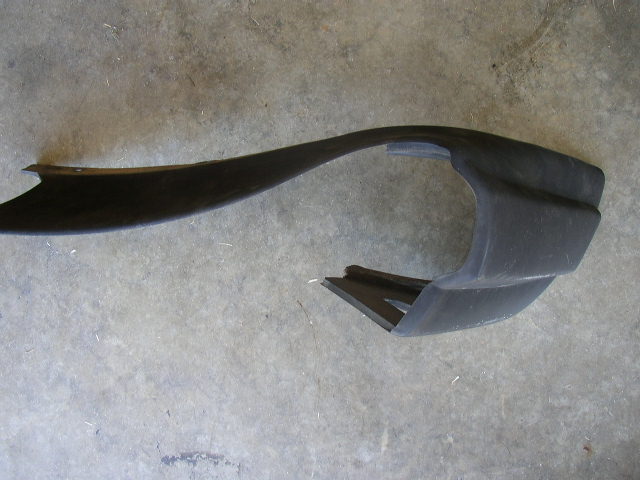
Here is the new bumper filler ready to take its rightful place.
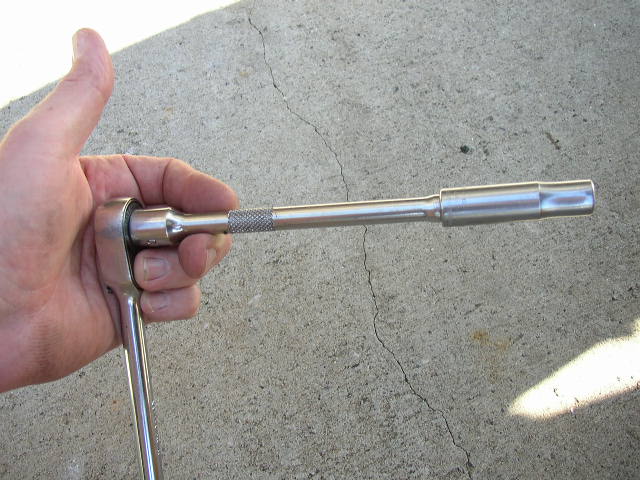
Use a 3/8 inch ratchet and log extension to get at the first hidden nut....
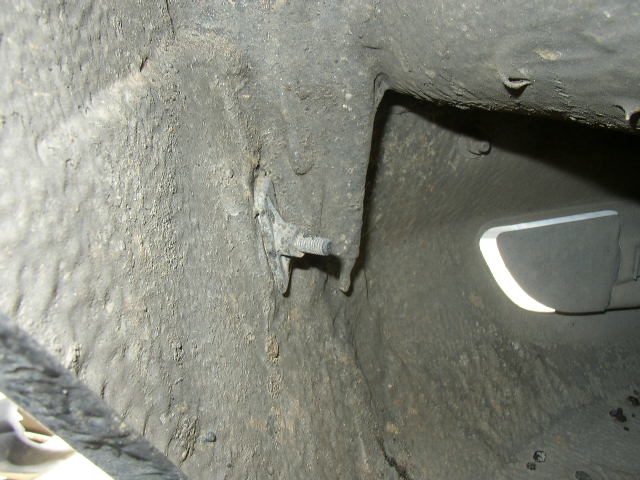
This is the hidden nut in the inner fender area. Just loosen it to almost the end but don't take the nut off, its not necessary.
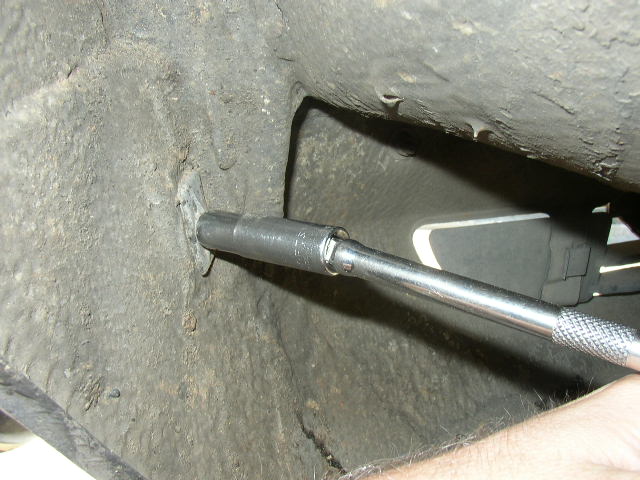
Letting the ratchet earn its keep....
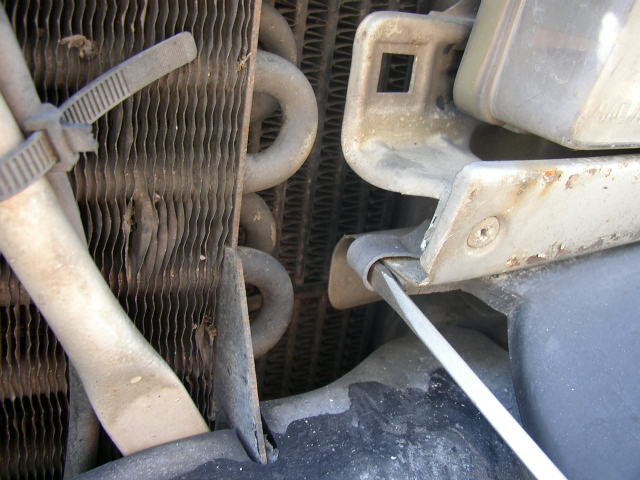
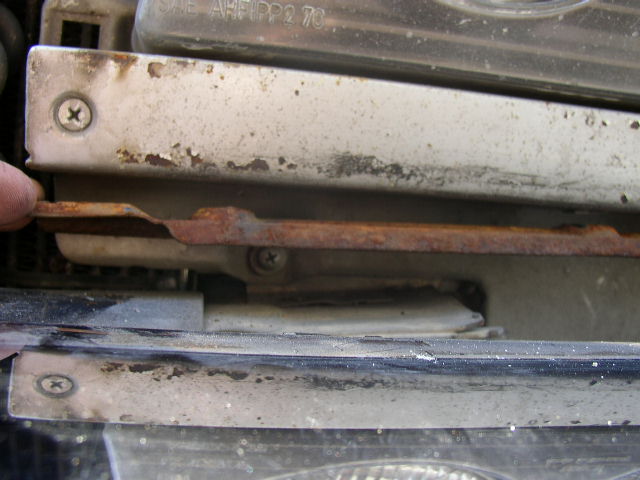
Now remove the clip holding the bracket and the end of the rubber extension.
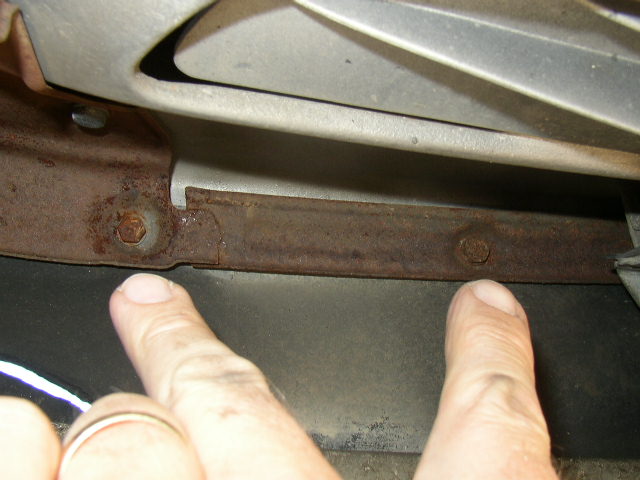
Under the front bumper you will see these 2 hidden bolts, remove them.
In the same location you will see this hidden bolt, remove it...
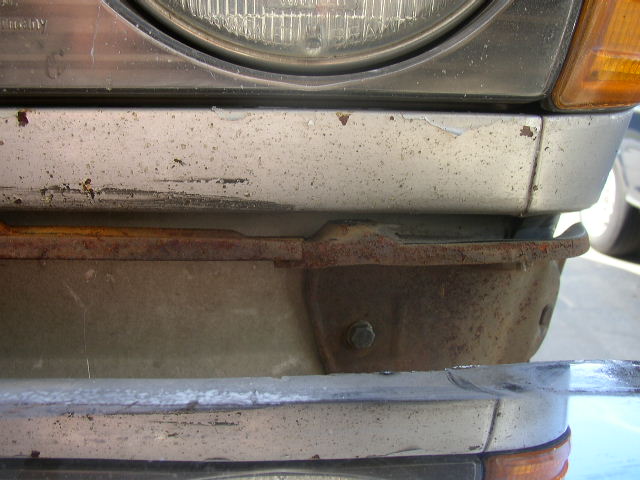
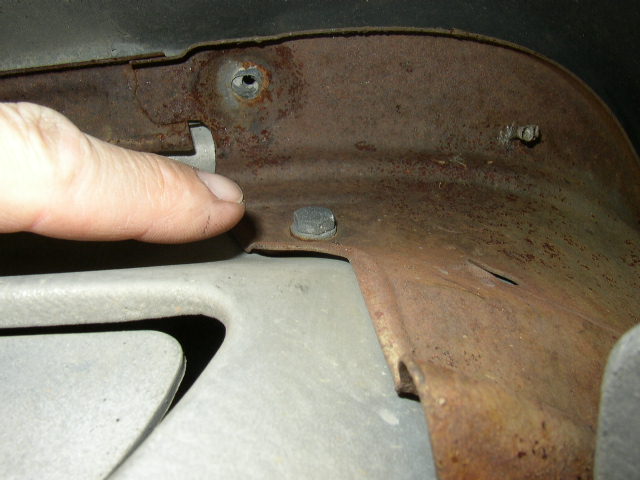
With the bracket loose the bumper filler will slide off toward the driver door. There is a grove in the filler that fits around the bracket You can see one of the hidden bolts that you loosened....
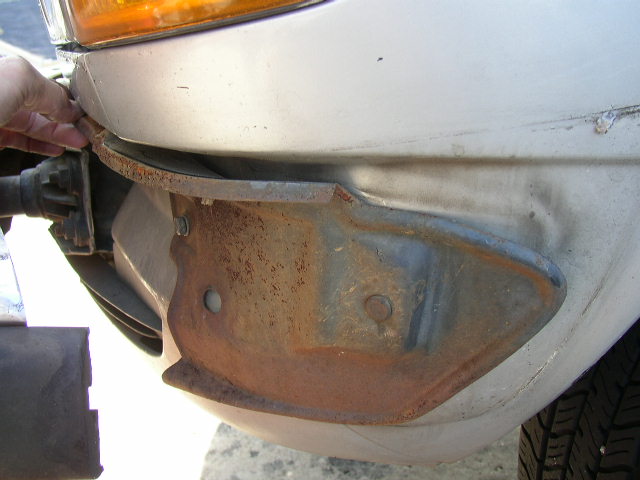
Side shot of the bracket....
In between the bracket and the body, is where the edge of the bumper filler goes...
Installing the bumper filler is the reverse of take off. Slide the filler from the drivers fender area toward the front making sure the bracket slides in the groves in the bumper filler. Then re attach all the hardware you removed.
Boy that sure look better now!