|
Mercedes Front Fender R&R |
| Home |
| Bio diesel and WVO page |
All parts used in these pictorials are available at the diesel parts for sale page
Safety and security tips:
Please remember to recycle all your used fluids at an appropriate recycling center. Be mindful to not spill or splash fluids on yourself, others or the ground. Also as a safety tip please remember anytime you are working on, around or under your car, to wear safety glasses and secure the car with wheel stops and approved jack stands!
Mercedes Front Fender R&R
Since body work is about as fun to me as a trip to the dentist, I decided that maybe most people don't like it very much either. The reason I don't like it is I am not very good at it. So when it came time to replace the front fender on our project 240d I thought about hiring it out. But after a moment of insanity, I decided that maybe there are others out there who would like to know how it done so they could DIY their fender. So in the spirit of DIY'ing, I relented to do it.
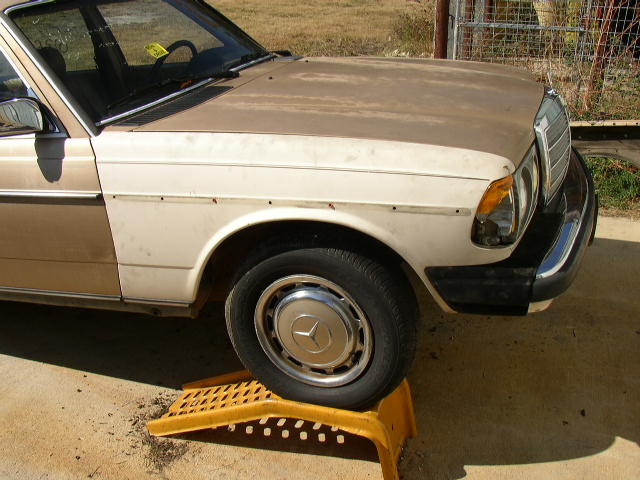
Our project '83 240d with only 130k miles is the vehicle in question. When I acquired it the car had so much sap on the paint, I could not tell what color the car was. After giving it a bath in Purple Power and a pool brush, I delighted it was the paint code 473 Champaign gold. The car will get repainted AFTER I replace this front fender that was dented. I acquired the donor fender from another '83 300d in the pick-and-pull yard and off I went.
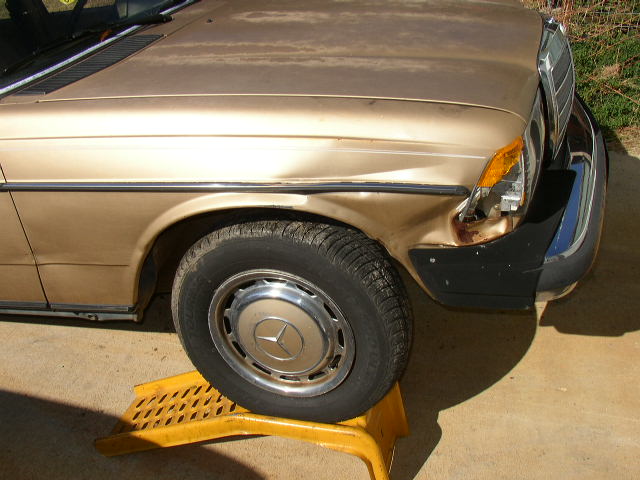
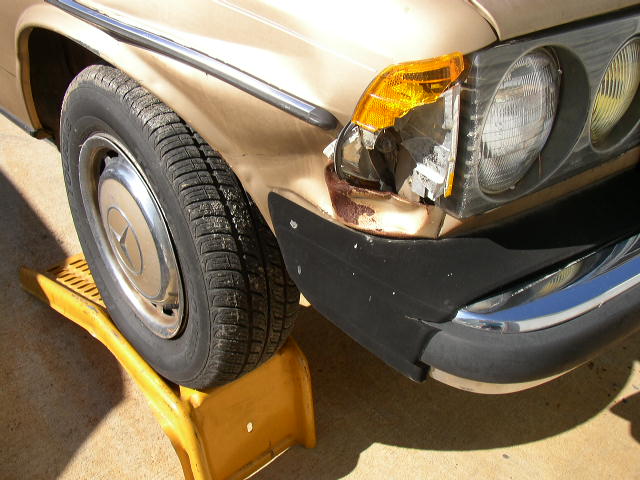
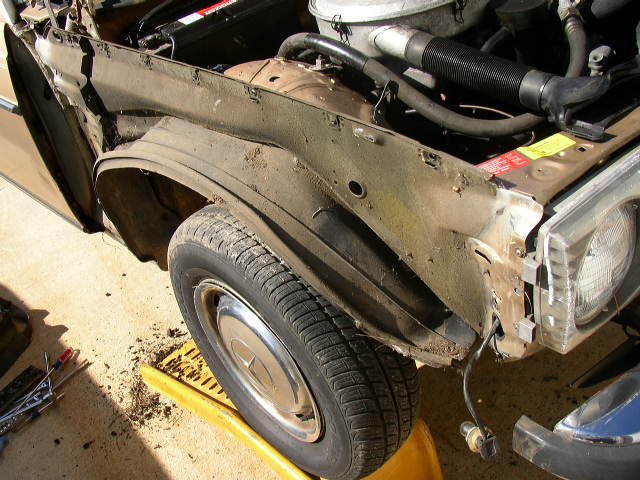
I started by securing the car on sturdy car ramps to make it easier for me. Crunch on the front corner will require another fender, instead of repairing this one.
I picked up another side blinker while I was at the salvage yard.
Front apron was pushed in as well and required motivating with a 2x4.
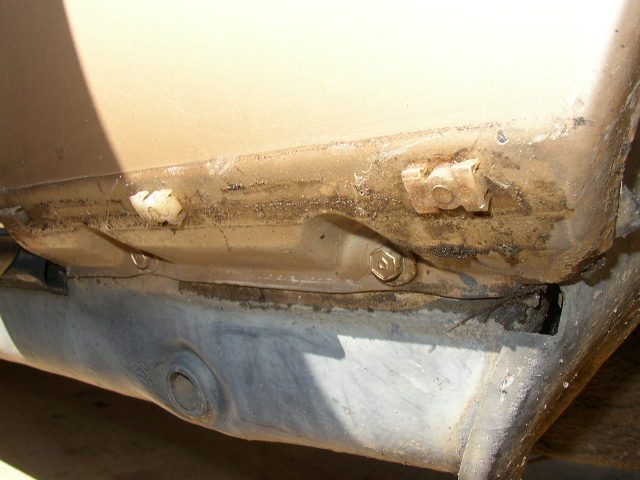
We start by removing all the side bolts holding the fender on to the apron.

Remove the bolts on the side of the fender. You must open the font door to get at these.
The other bolts on the side of the fender.
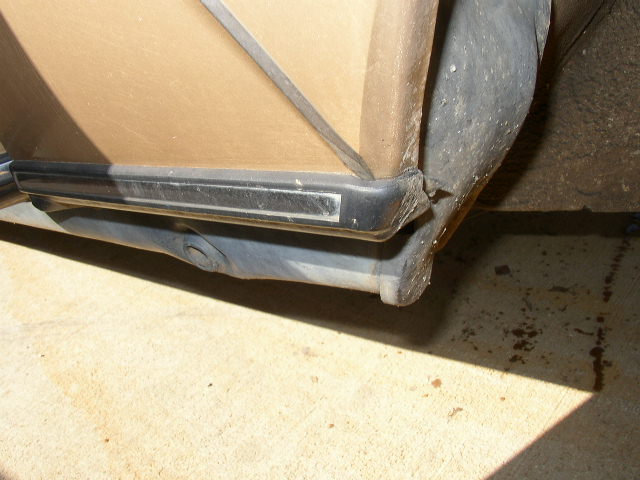
Carefully remove the lower trim by using a flat blade screwdriver and pulling gently down to release it from the clips.
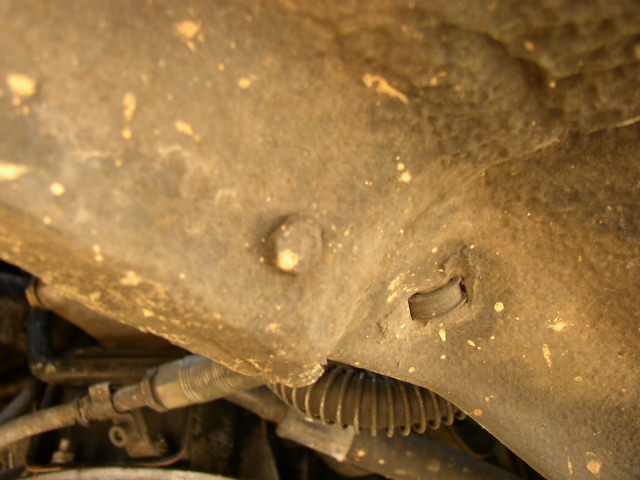
After the trim is off, the 2 lower bolts will be exposed.
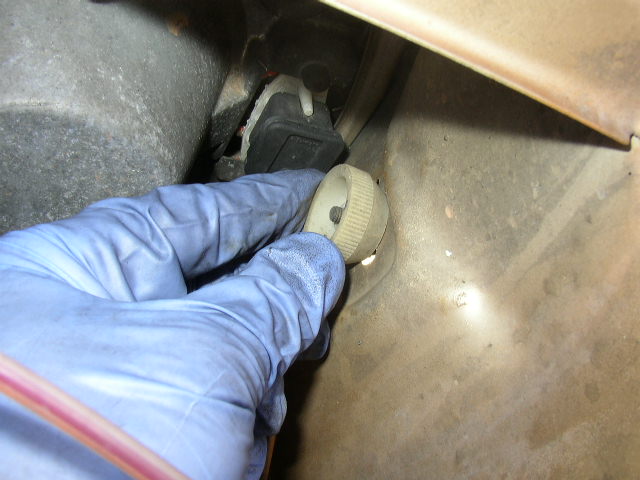
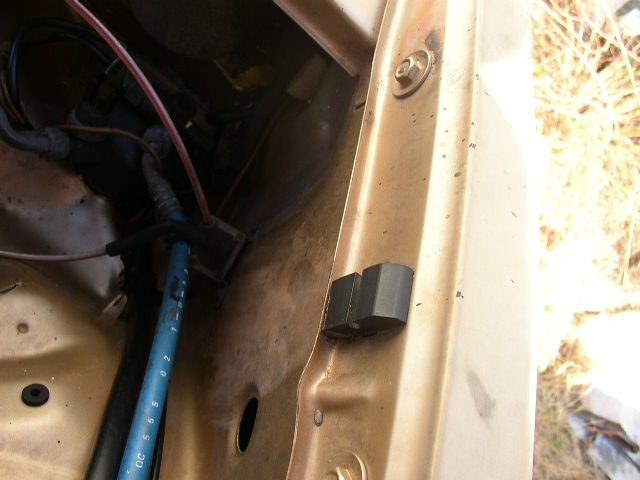
Remove the plastic thumb screw holding the blinker to the car.
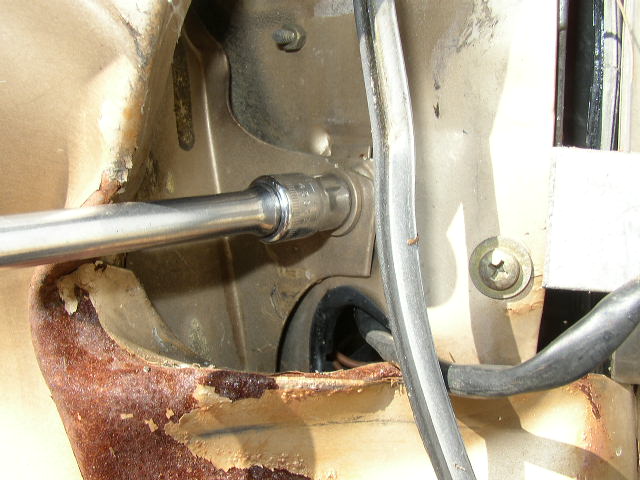
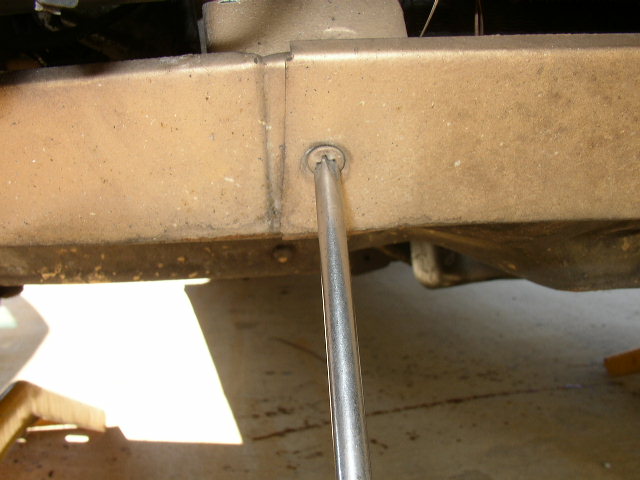
Remove the hidden bolt holding the fender to the apron.
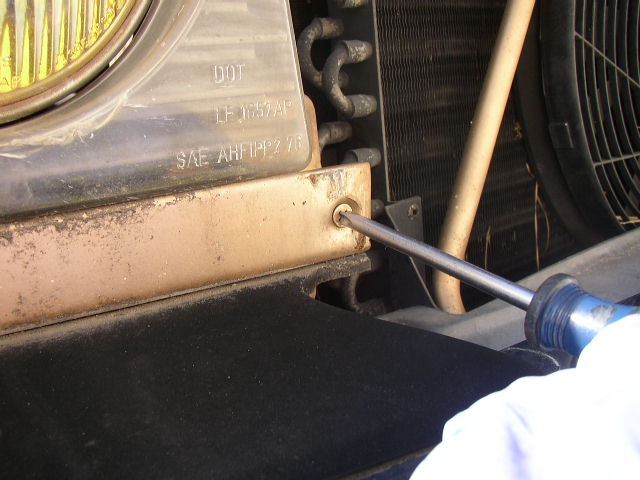
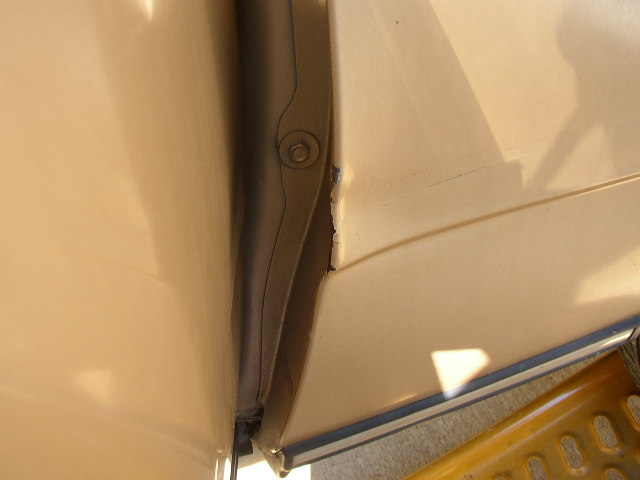
Now remove the Philips screw holding the front portion under the head light....
...then lift the bumper end rubber up to expose the other Philips screw.
The front valance panel is really both front fenders connecting to a center piece. Remove the Philips screw hear also.
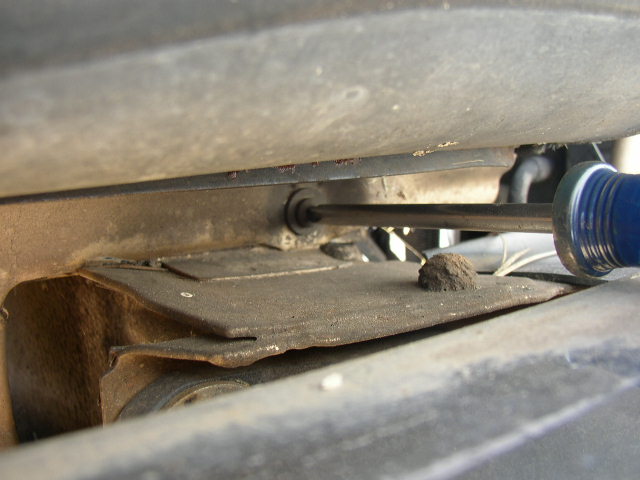
Remove the bolt on the panel as well.
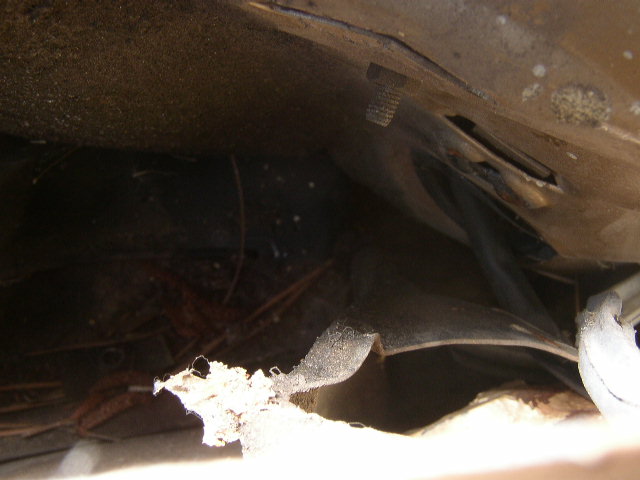
Remove the bolts holding the inner fender plastic to the front fender.
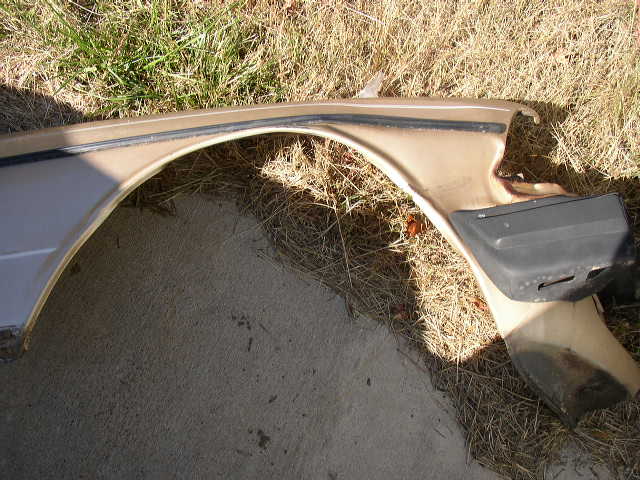
Gently remove the fender and ....
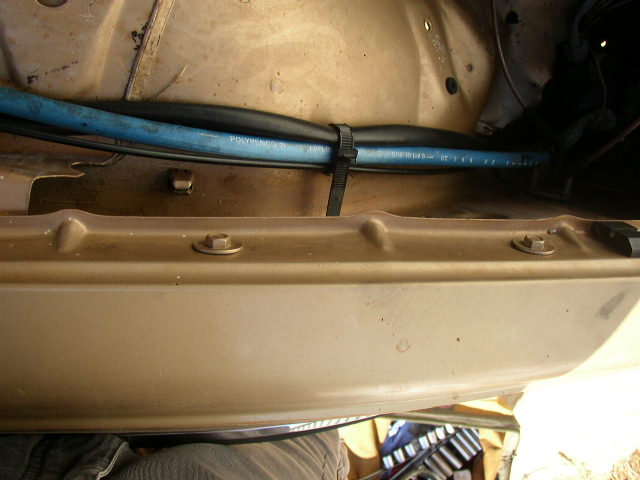
You will expose the apron
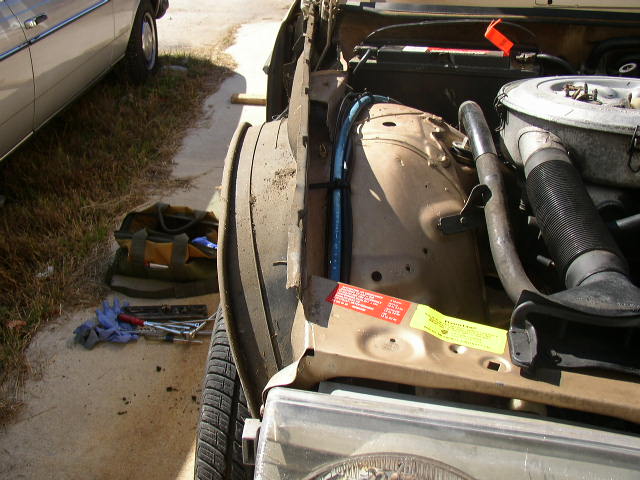
The apron was very mildly pushed in, but I pushed it back by hand...
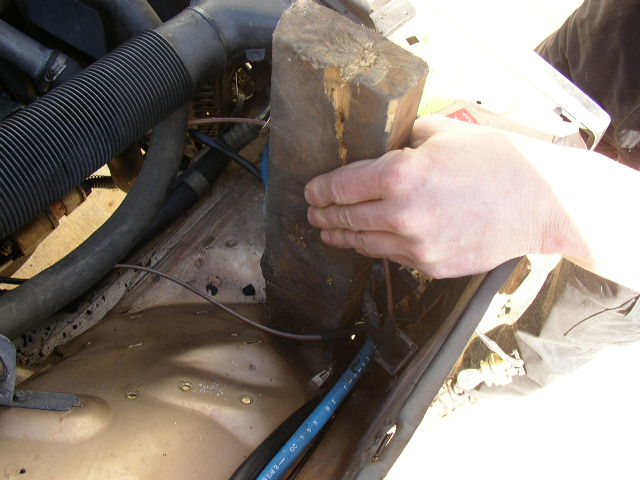
A 2x4 and heavy hammer pushed the sheet metal back to where it was supposed to be.
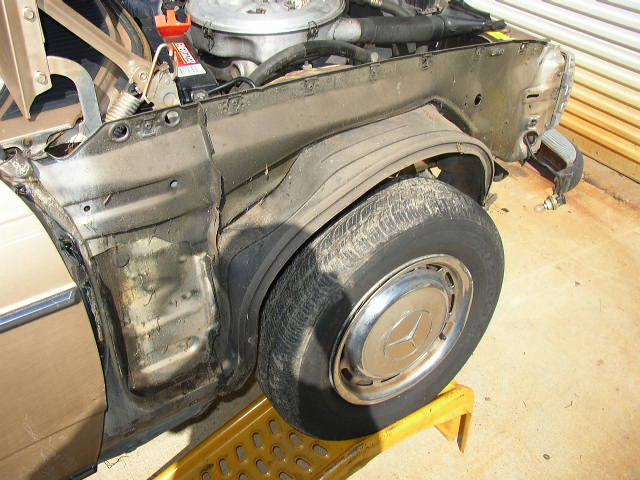
Straight once again.......
Then mount the new fender on the car. Just reattach the bolts loosely and check all sides for proper alignment and gap. Once they line up, just tighten all the bolts and screws and replace the blinker.
Not a real hard job, maybe 1 hour to do. As you can see the paint is loosing its clear coat.....that is the next pictorial.