|
Mercedes Tie Rod Assembly R &R project 240d series |
All parts used in these pictorials are available at the diesel parts for sale page
Safety and security tips:
Please remember to recycle all your used fluids at an appropriate recycling center. Be mindful to not spill or splash fluids on yourself, others or the ground. Also as a safety tip please remember anytime you are working on, around or under your car, to wear safety glasses and secure the car with wheel stops and approved jack stands!
Mercedes Tie Rod R&R
Next on our project 240d series is to replace the 2 bent tie rod assemblies. How they got bent is speculation but the car has never been wrecked. Since this car was rescued from an auction where they move the cars via a forklift, I suspect the forks of the machine did the damage. Nothing else under the car is even scratched.
Well they say a picture is worth a thousand words so take a look....
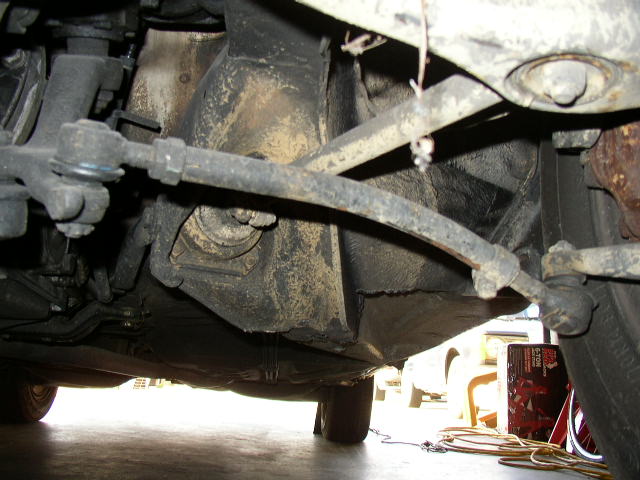
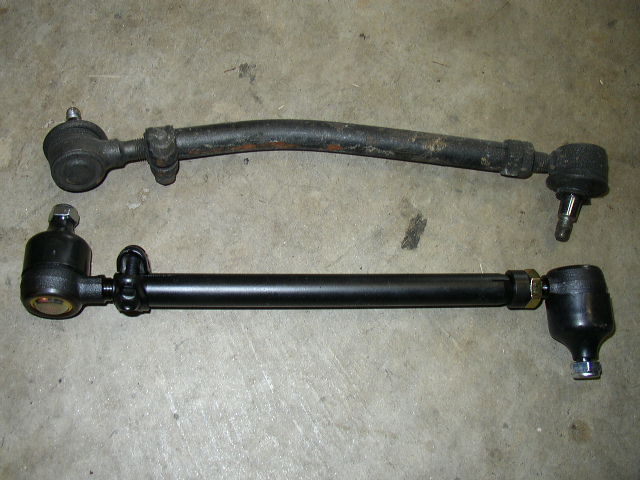
Yep that dude is a little bent. Both sides have exactly the same bend. Ironically the car drives straight down the road and is very tight. Turning is a different matter, lots of tire squeal from the toe now out of specs.
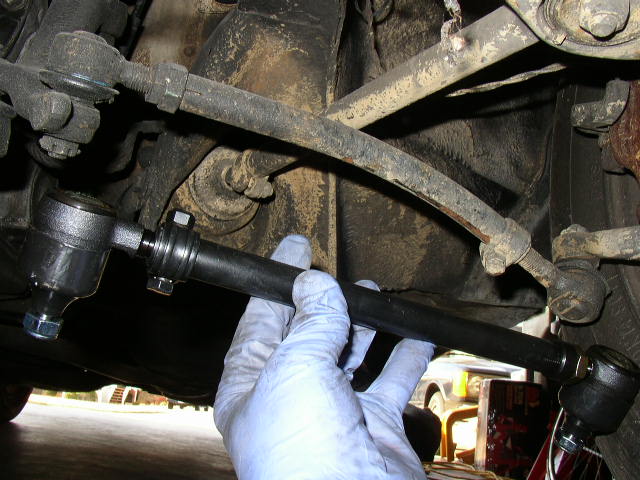
Compare the old rod to the new tie rod assembly. A little difference. Note the distance each rod end is from the tube its screwed into as we will set the new assembly as close as we can to the old. This will allow us to drive the car to the alignment shop and not wear the front tires out doing so. So lets get to work.....
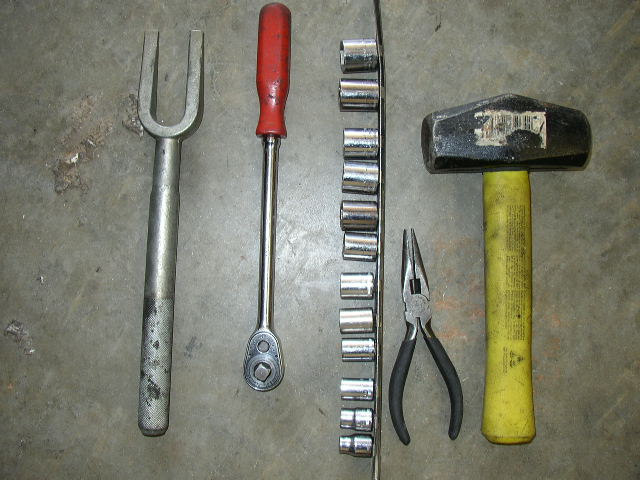
These are the tools needed to do the job. A pickle fork can be rented from Autozone etc, but they are really cheap to buy so just pick one up and keep it on hand.
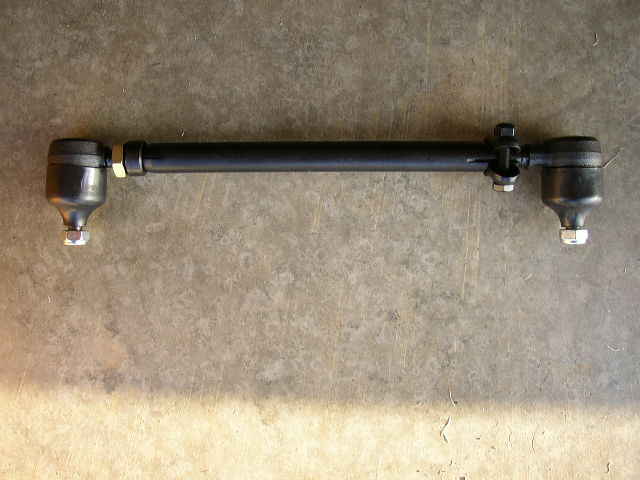
I used two of the tie rod assemblies from dieselgiant.com to do the job. Since the middle tube is not available separately its easier to just do the whole assembly to ensure the end joints are fresh. These assemblies come with protective caps over the grease boots.
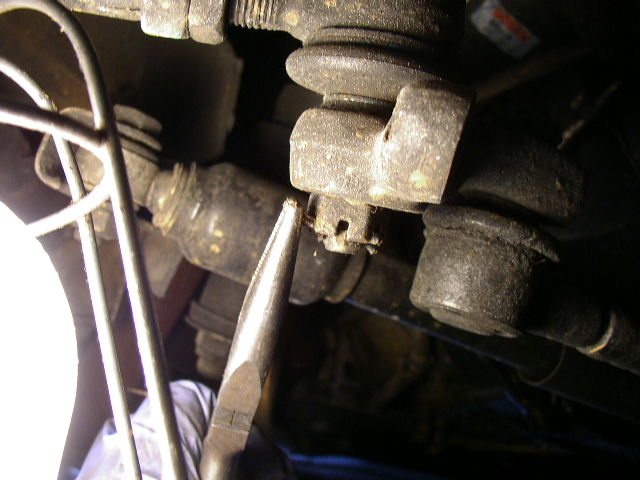
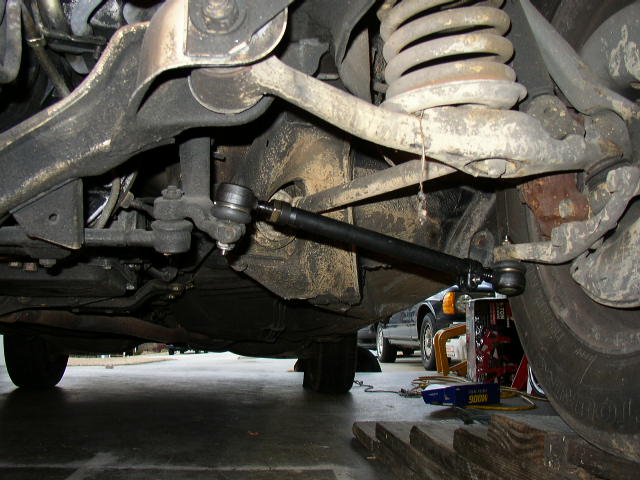
After the car is properly secured and lifted, I removed the cotter pin from both tie rod ends.
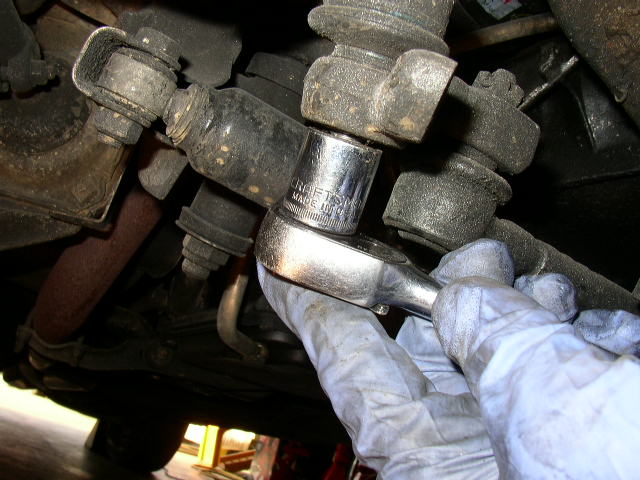
Then remove the securing nut....
Then the other nut on the other tie rod......
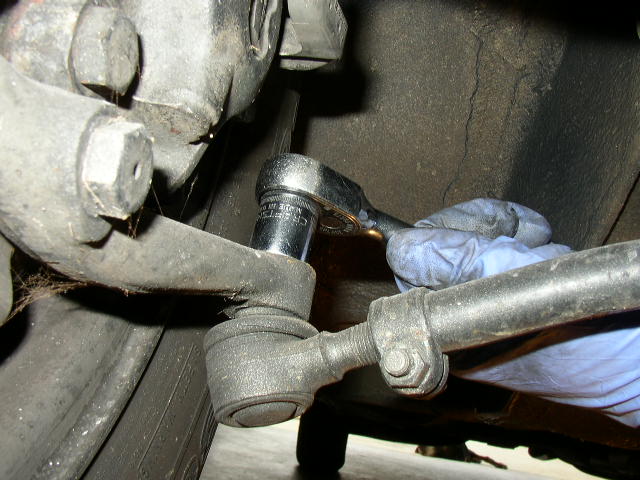
Since we are not reusing the tie rod we can use the pickle fork and hammer. If for some strange reason you wanted to use the same tie rod end, then you would use a lever tool to remove the joint from the center bar. Using the pickle fork destroys the grease boot, but since we won't use it again we don't care.
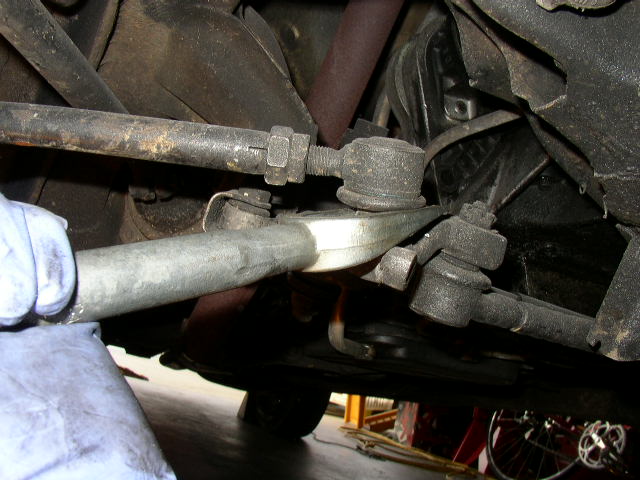
Once both ends are free just remove the assembly. Compare the damaged assembly to the new one.
Just adjust the rod ends to close to what the distance was on the old assembly and reinstall. The new style like we have here, does not use cotter pins but nylock nuts.
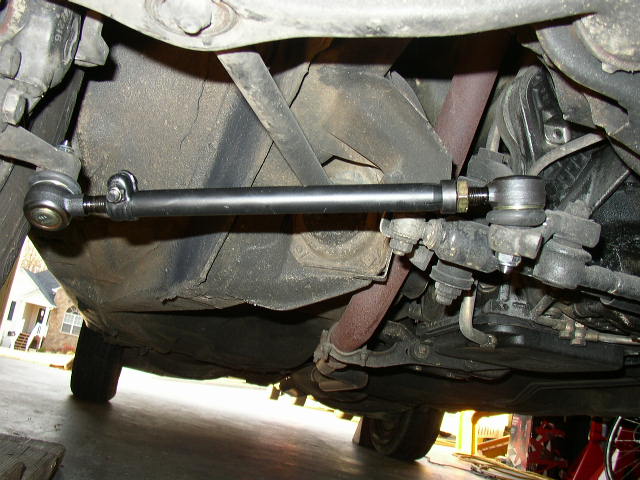
Now do the same thing for the other tie rod assembly and all should be well. Now that you have done this work, look for any other items that need to be replaced like the steering damper, upper control arm or bushings. If your done then you will need to take the car to the alignment shop and have the toe reset along with the camber.
This job should take you under 1 hour with moderate skill. Tight steering is the payoff!