|
Mercedes Fuel Tank Removal and Replacement |
| Home |
| Bio diesel and WVO page |
All parts used in these pictorials are available at the diesel parts for sale page
Safety and security tips:
Please remember to recycle all your used fluids at an appropriate recycling center. Be mindful to not spill or splash fluids on yourself, others or the ground. Also as a safety tip please remember anytime you are working on, around or under your car, to wear safety glasses and secure the car with wheel stops and approved jack stands!
Mercedes Fuel Tank Removal and Repair
with fuel screen, fuel sending unit R & R
This is a pictorial that came by necessity not because I wanted to do it. After some time of watching the pre-filter in the 1981 300d get more and more sediment filled, I decided it was time to pull the tank and clean it out. While I was there I wanted to address my funky acting fuel sending unit and the fuel screen. This job is not really hard but a little messy and well within the average DIY'er. What came out of my fuel tank horrified my and I wondered how the car even ran at all. To be honest before I did this job the car actually left me stranded and gave little warning until it was too late. So I suggest that if you have ANY sediment in your pre-filter to do this job ASAP.
After having done the job this car runs better than it ever has and the pre-filter is absolutely clean and clear. The car was not getting enough fuel under a load for a long time.
So follow along as I show you how to properly get this job done.
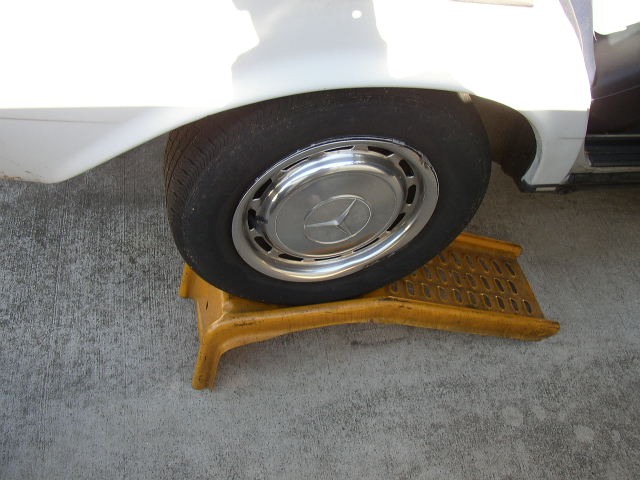
First put the vehicle up on ramps or jack stands. Ramps are easier to use and safer.
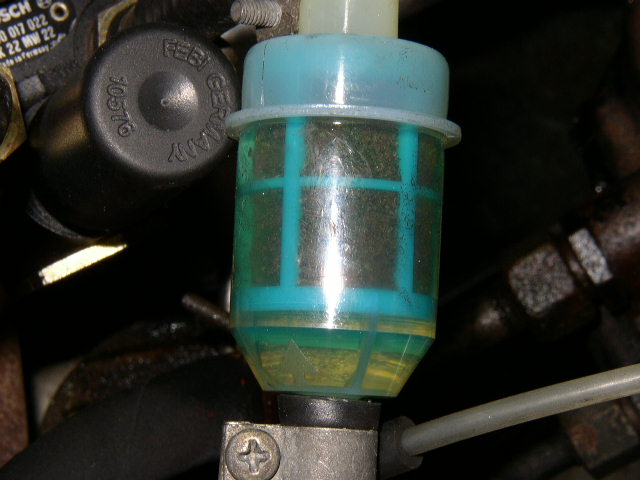
The pre-filter was clogged up after only 5 miles of running. Time to pull the tank.
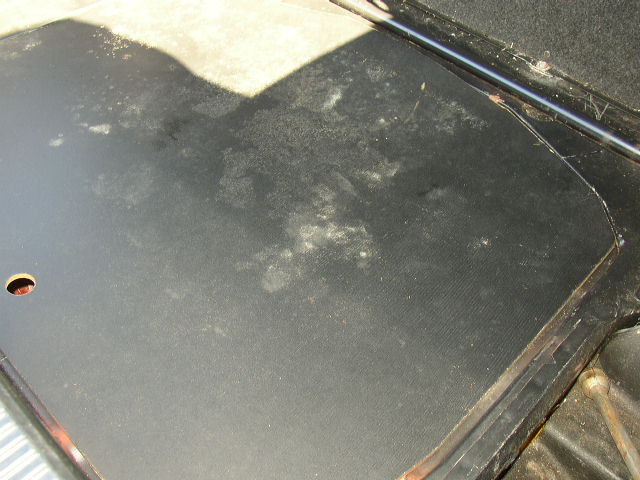
We pull the tank from the inside of the trunk. I have the dieselgiant.com spare tire cover
in this car as the old one was warped. These are custom made and very durable.
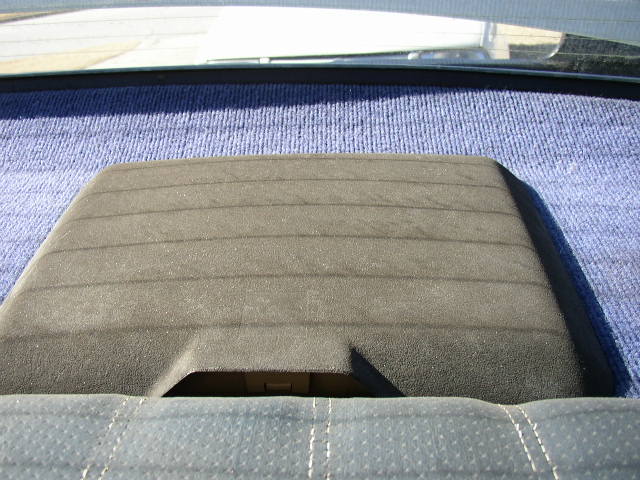
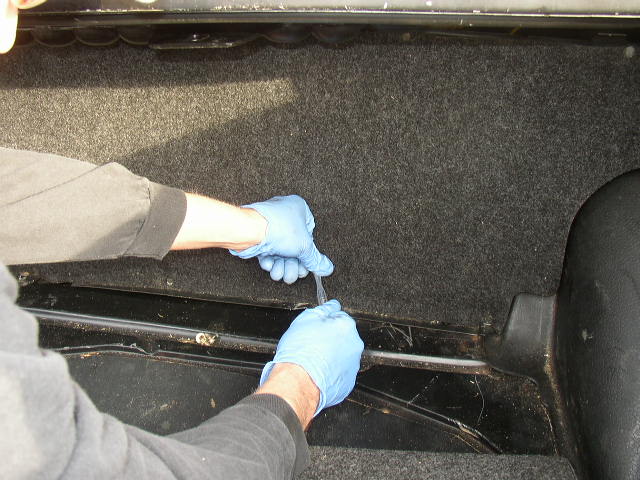
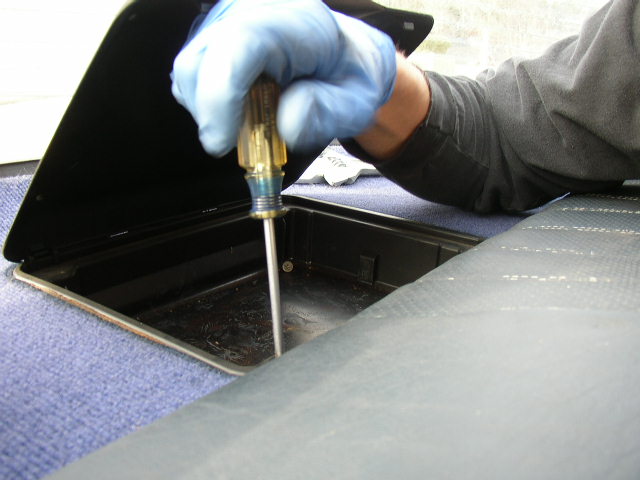
We will be accessing the fuel sending unit first, so locate the first aid box on the package tray.
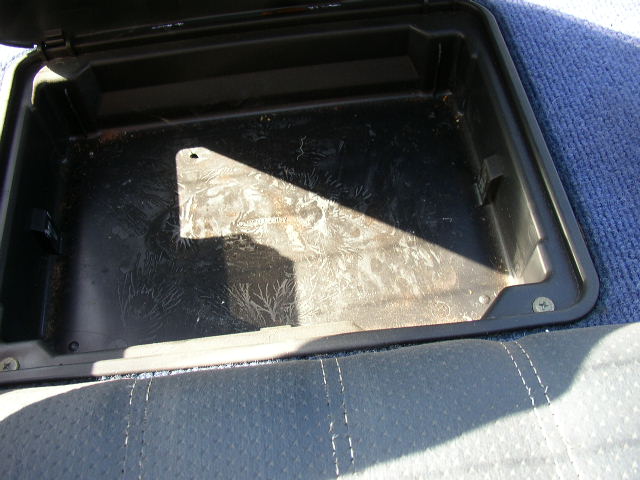
Open it and remove the first aid kit if still there. Two phillips screws hold the tray down.

After removing the tray you can access the fuel sending unit. The reason I wanted to take
out the unit was to drain the tank and unplug the unit before pulling the tank.
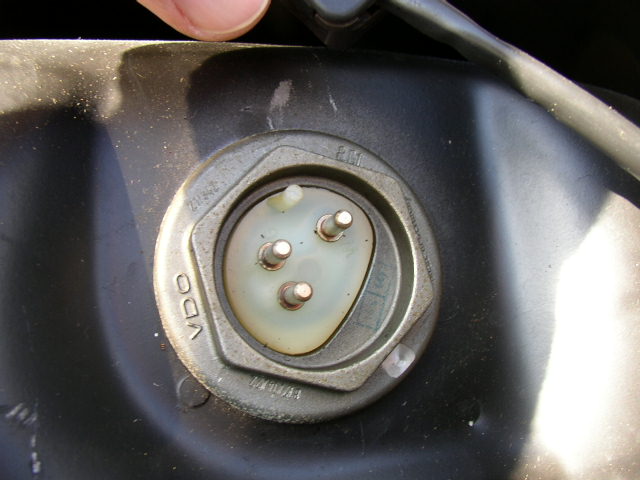
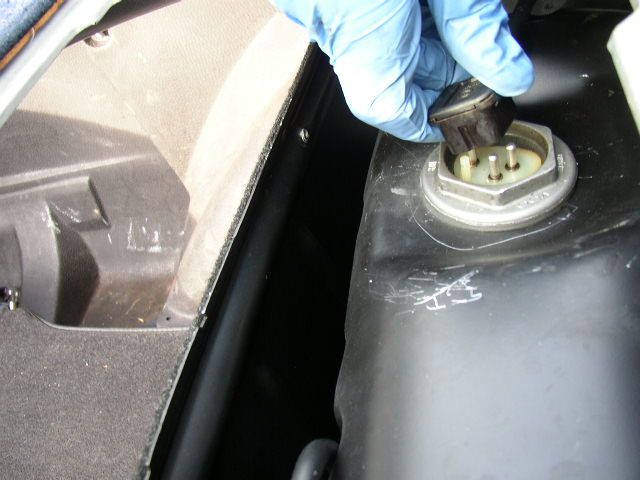
With the plug out this is the top of the fuel sending unit.
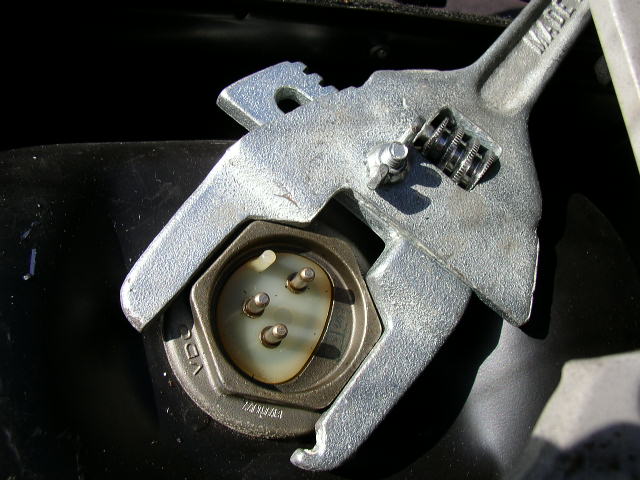
I used a wide adjustable spanner wrench to unscrew the unit. A large crescent will work also.
Covered with algae and not working properly. If your fuel gage dances around then replace
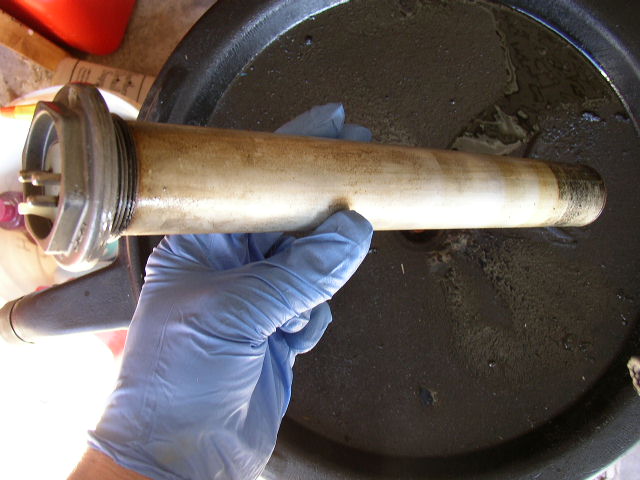
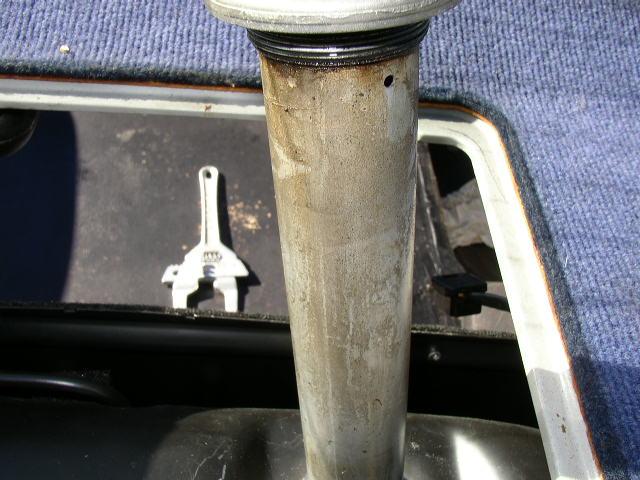
Algae and black sediment poured out of the unit.
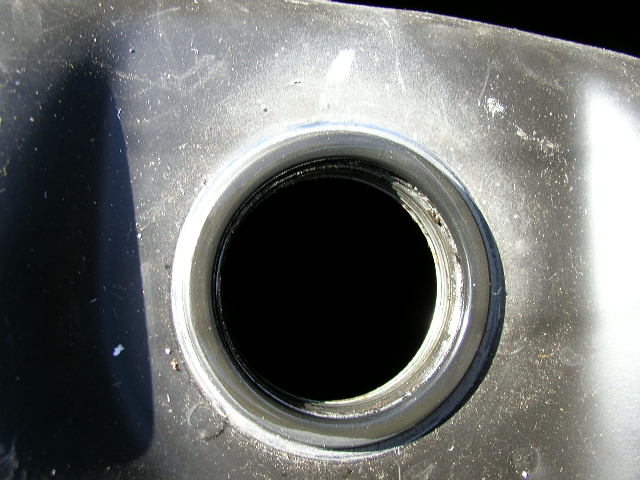
Looking down into the tank.
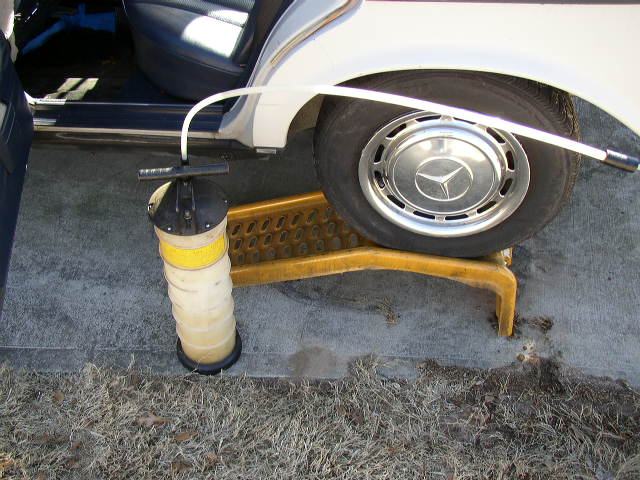
My vacuum evacuator is a very frequently used piece of equipment in the shop. I removed
all the diesel fuel from the tank with this. Much easier to do it from the top than bottom.
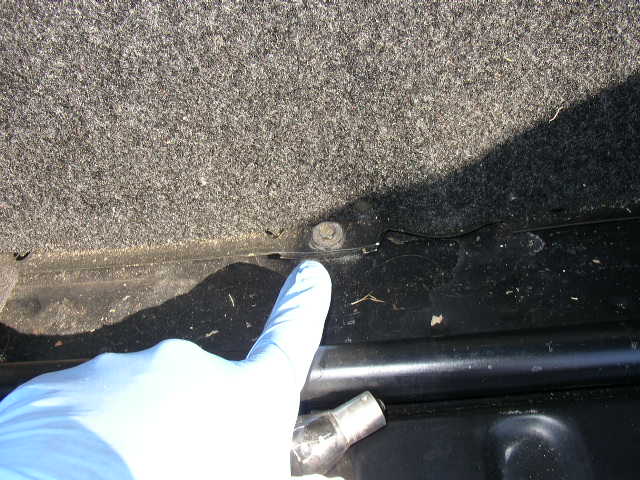
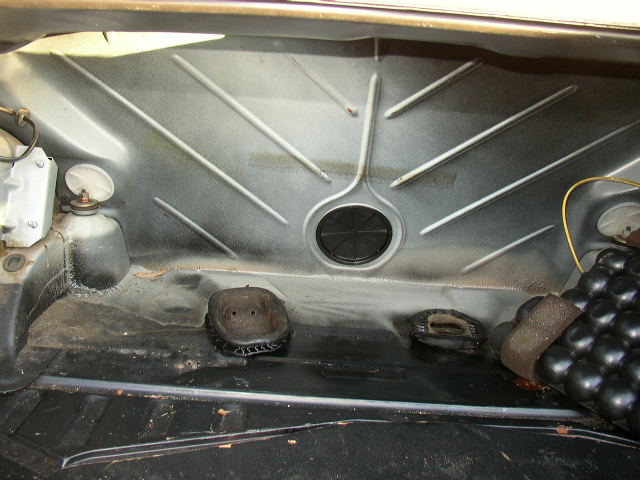
Back in the trunk we need to remove the screws holding the sheet metal panel so we can
access the tank.
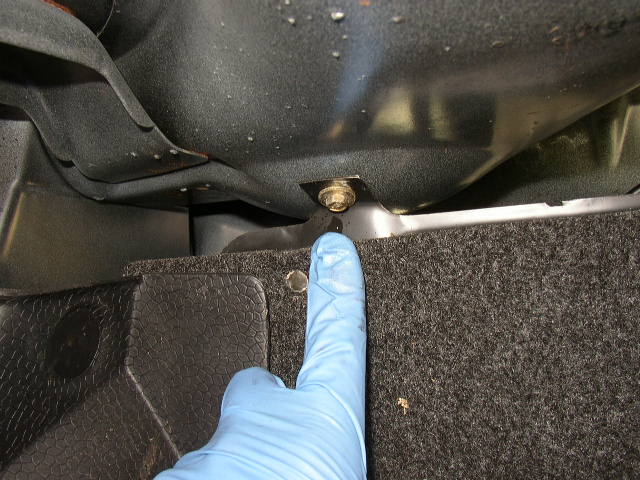
Two screws in the top and two in the bottom.
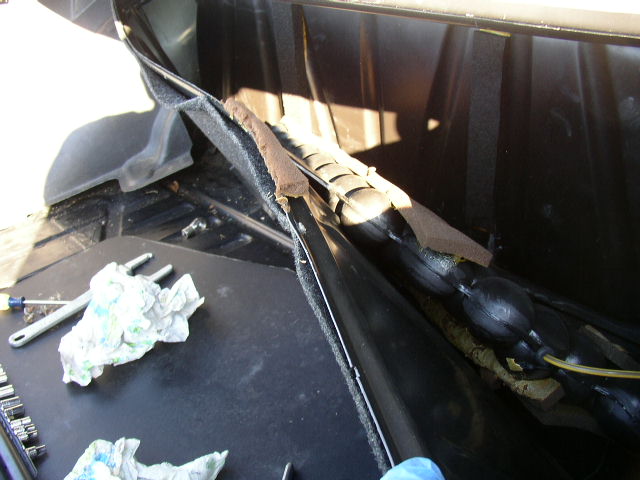
After screw removal, pull the panel out very carefully and remove the bolt holding the
vacuum tank and lay it aside.
Set the panel aside so it does not get damaged.
Be careful with the vacuum tank. Just lay it over on the passenger side wheel well.
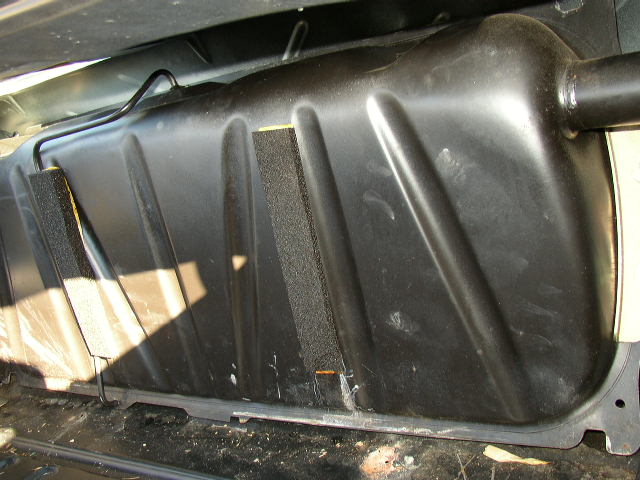
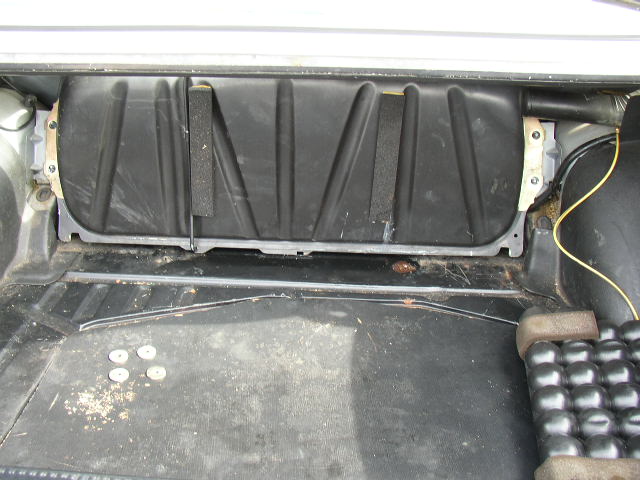
Here is the tank with the panel removed.
Two bolts on each side hold the tank to the chassis.
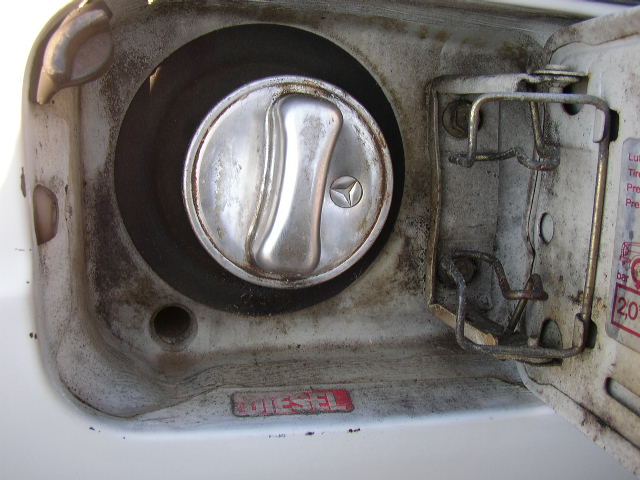
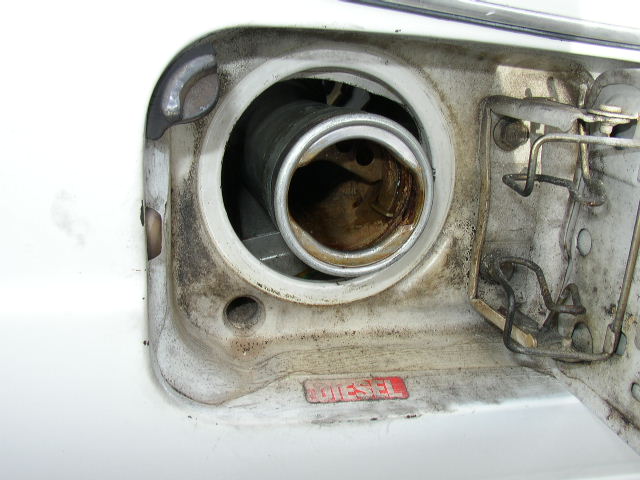
Open the fuel filler door...
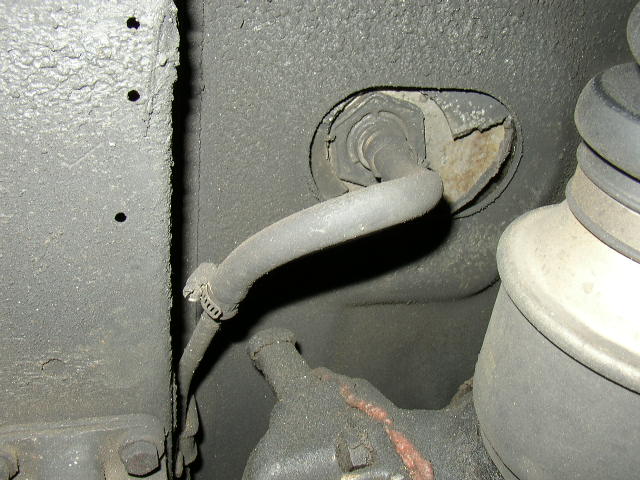
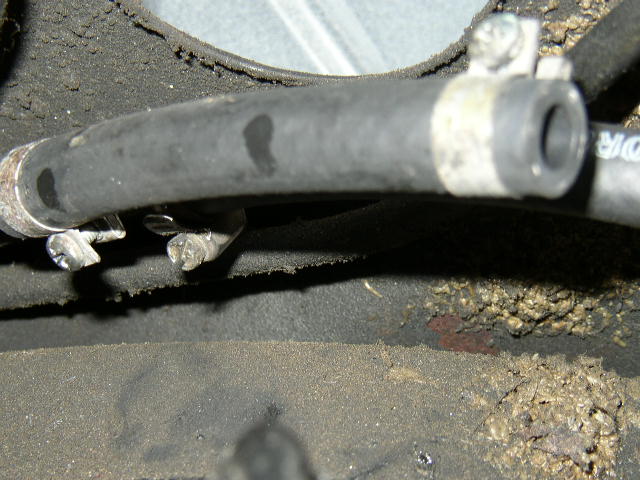
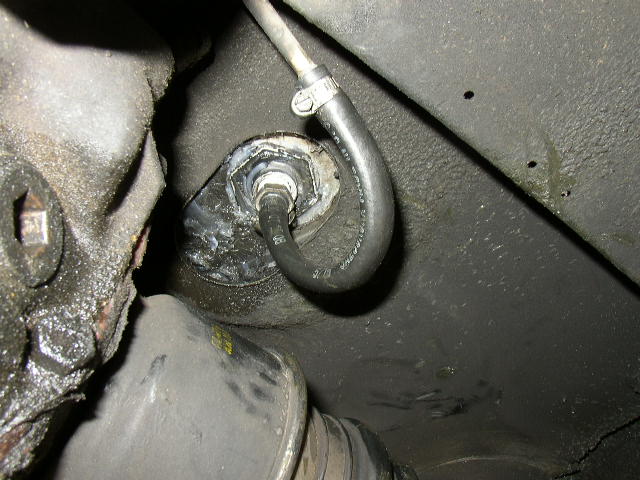
Time to get under the car. You see the fitted fuel hose which is the supply line to the engine.
Go ahead and replace this hose with this job as they dry rot.
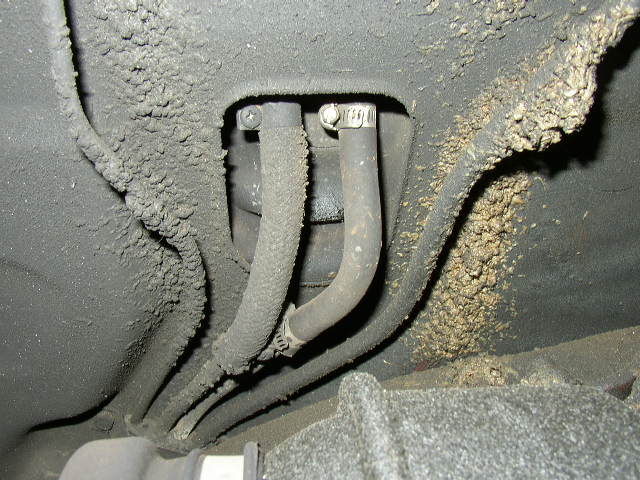
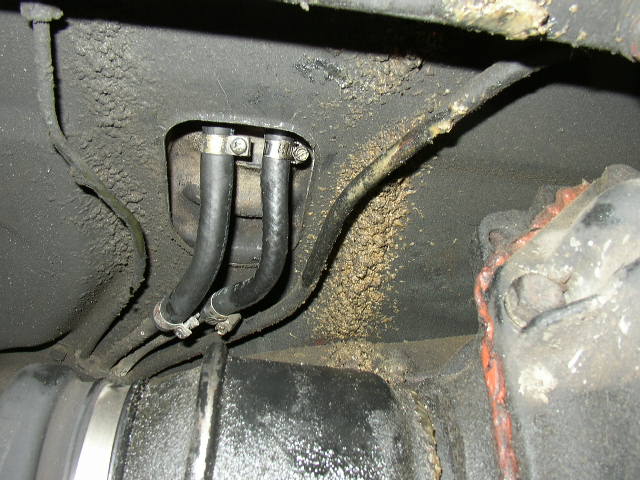
The return line and the tank vent line. All of these hoses can be replaced in the kit from
dieselgiant.com called the fuel hose replacement kit. Better to only have to do this job once!
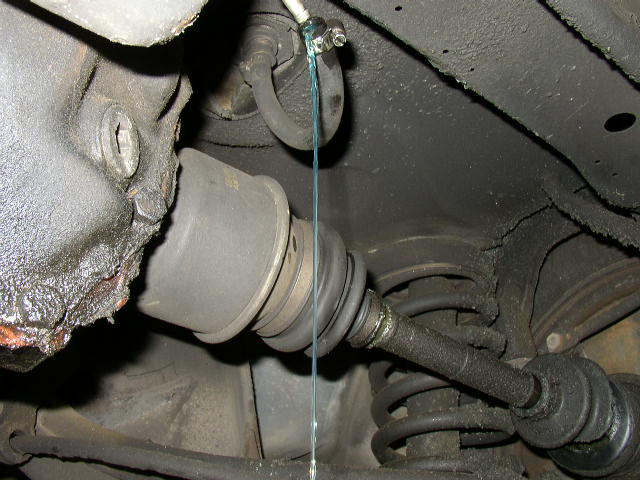
Even after evacuating the tank there will be about a quart of fuel left over. Pull the supply
line and drain into a pan.
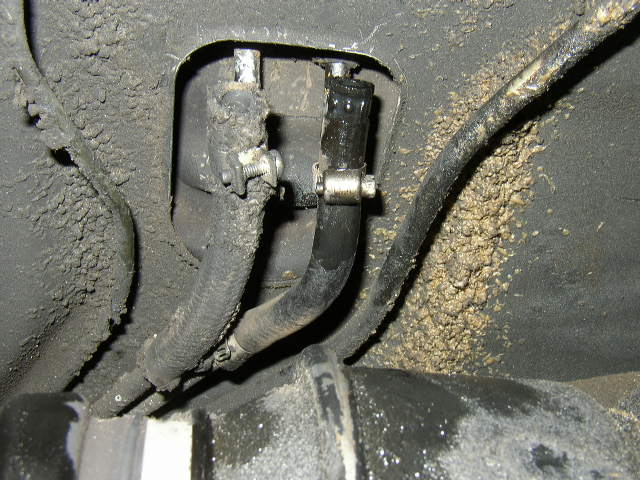
Disconnect the vapor and return lines and drain.
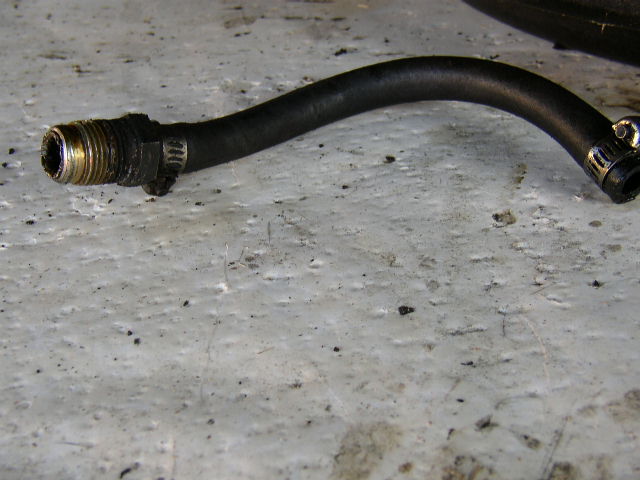
Old fitted fuel hose.
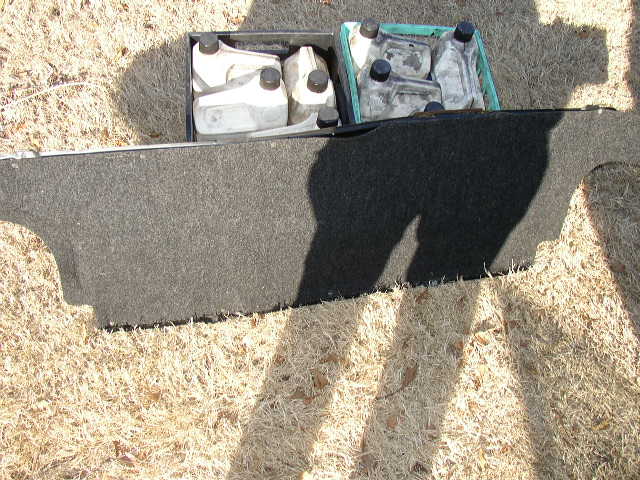
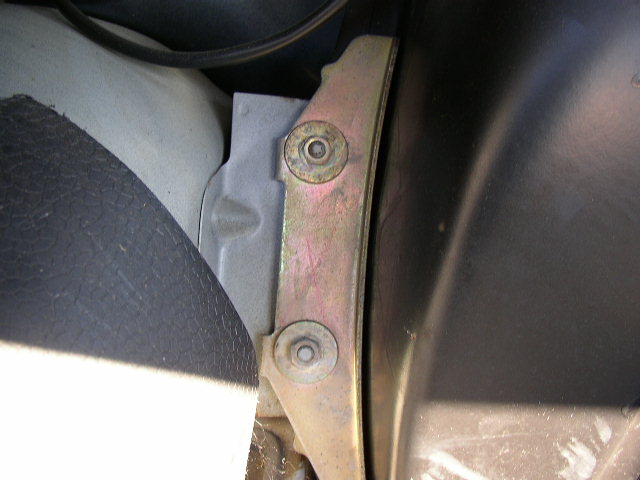
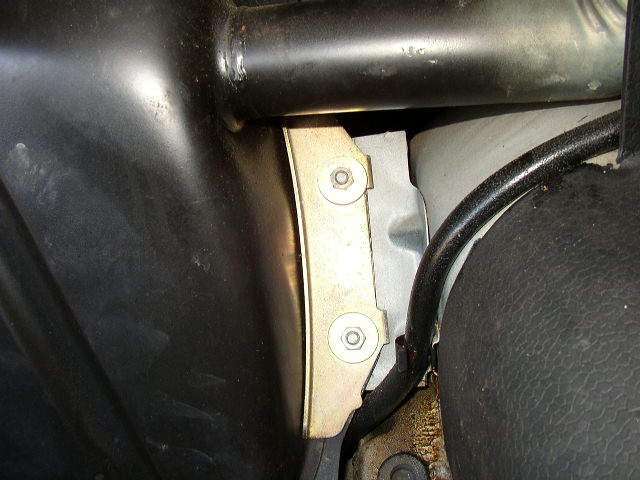
After taking the lines loose from the tank remove the 4 bolts and gently slide the tank out
of the trunk. It can be awkward but it will come out. The two large rubber pieces are gaskets
to seal the trunk openings when the tank is in. Don't loose or destroy them.
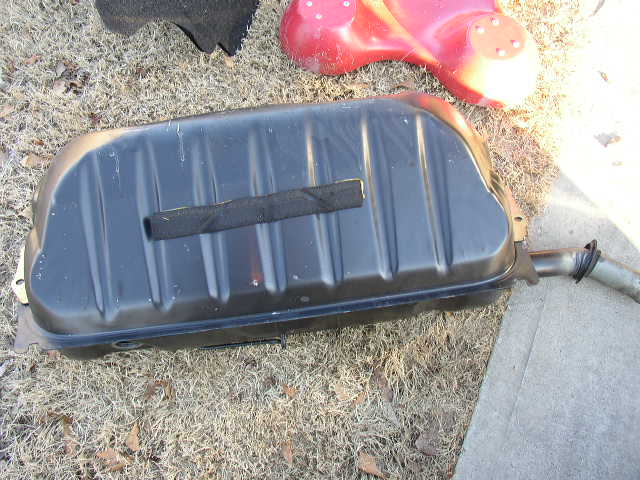
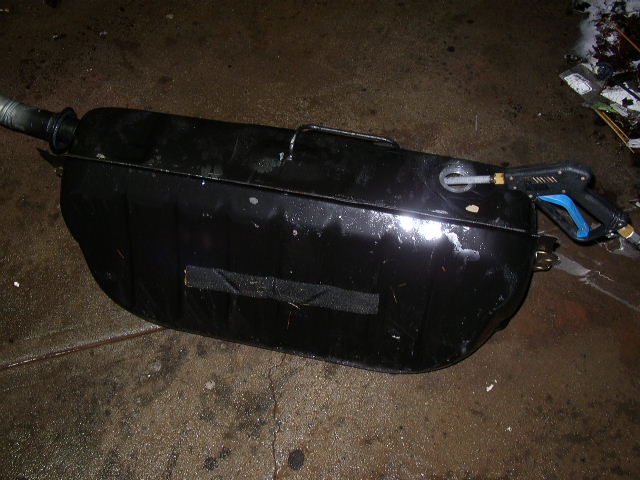
Tank is out and waiting to be examined.
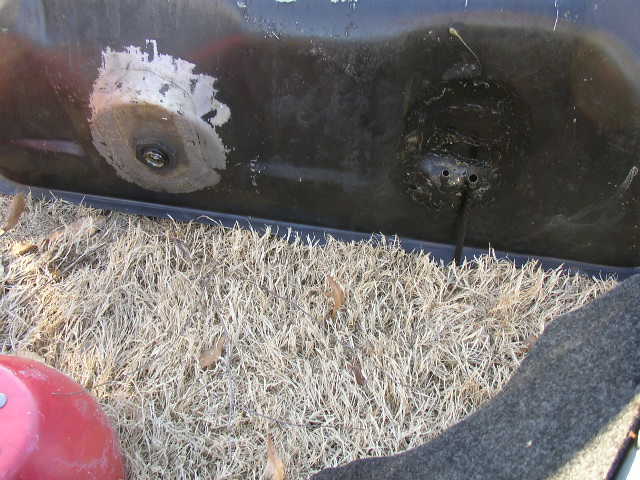
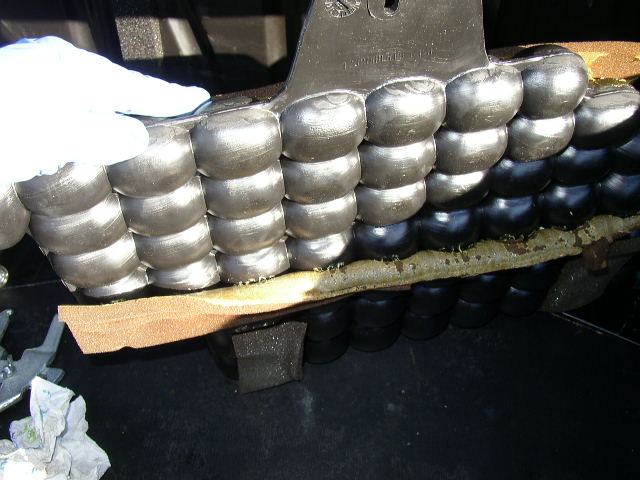
View of the bottom of the tank showing the fuel screen and the two line ports.
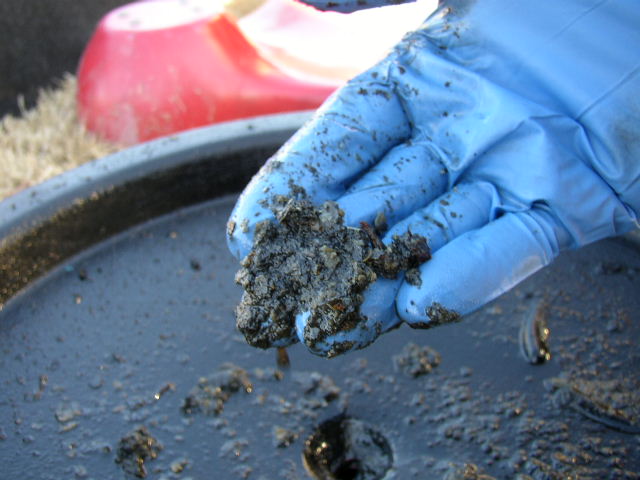
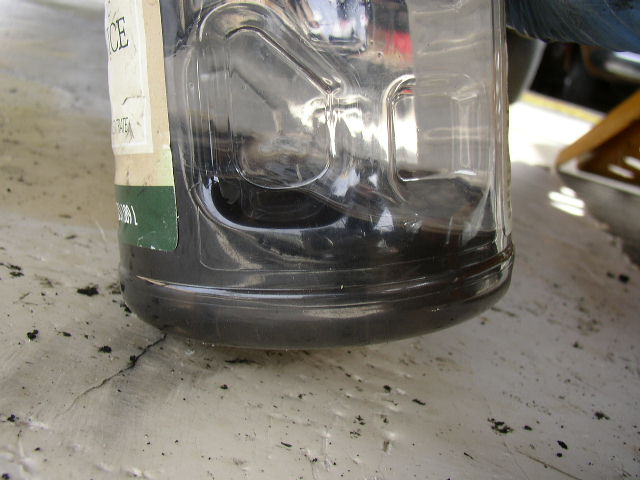
Dumping out the contents of the tank revealed several cups of "mudd" No wonder my
pre-filter clogged up so fast. Just in case your wondering the pre-filter stopped 100%
of this stuff.
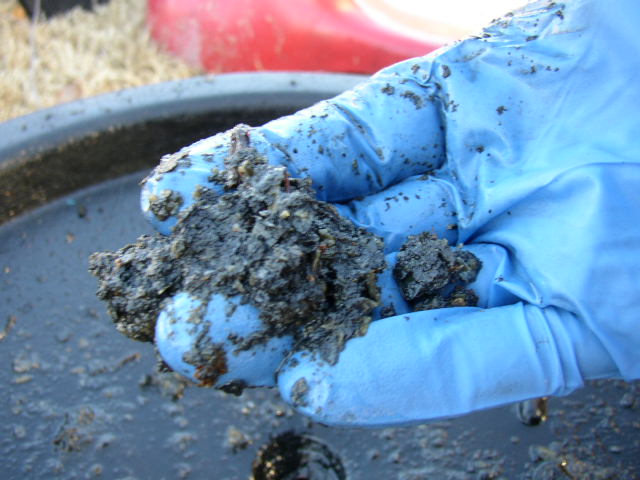
Nasty!
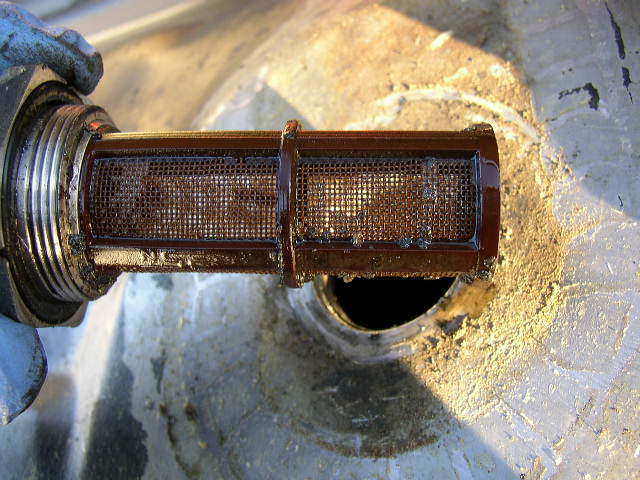
Nasty dirty fuel screen. Original to the car and is only designed to prevent large chunks
of stuff from leaving the tank. Replace the fuel screen while its out!
Yes all the fuel was out. I dumped in about 1/4 gallon of Zep Citrus degreaser and utilized
my self service car wash. Man this gets the tank squeeky clean.
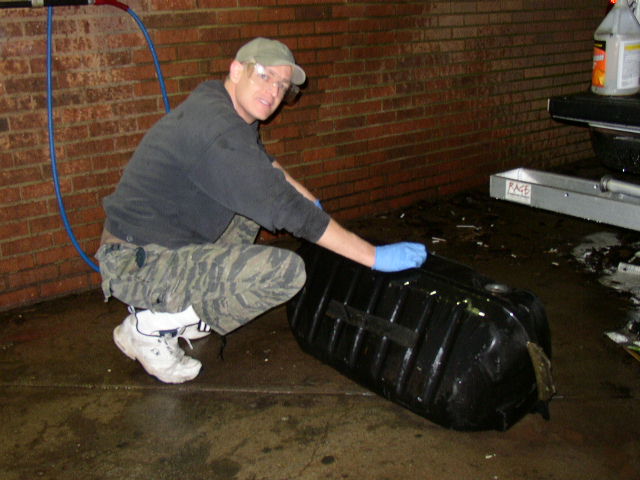
Yes I do the work and yes I were safety glasses! I spent about $5 in quarters to make sure
the tank was perfectly clean inside.
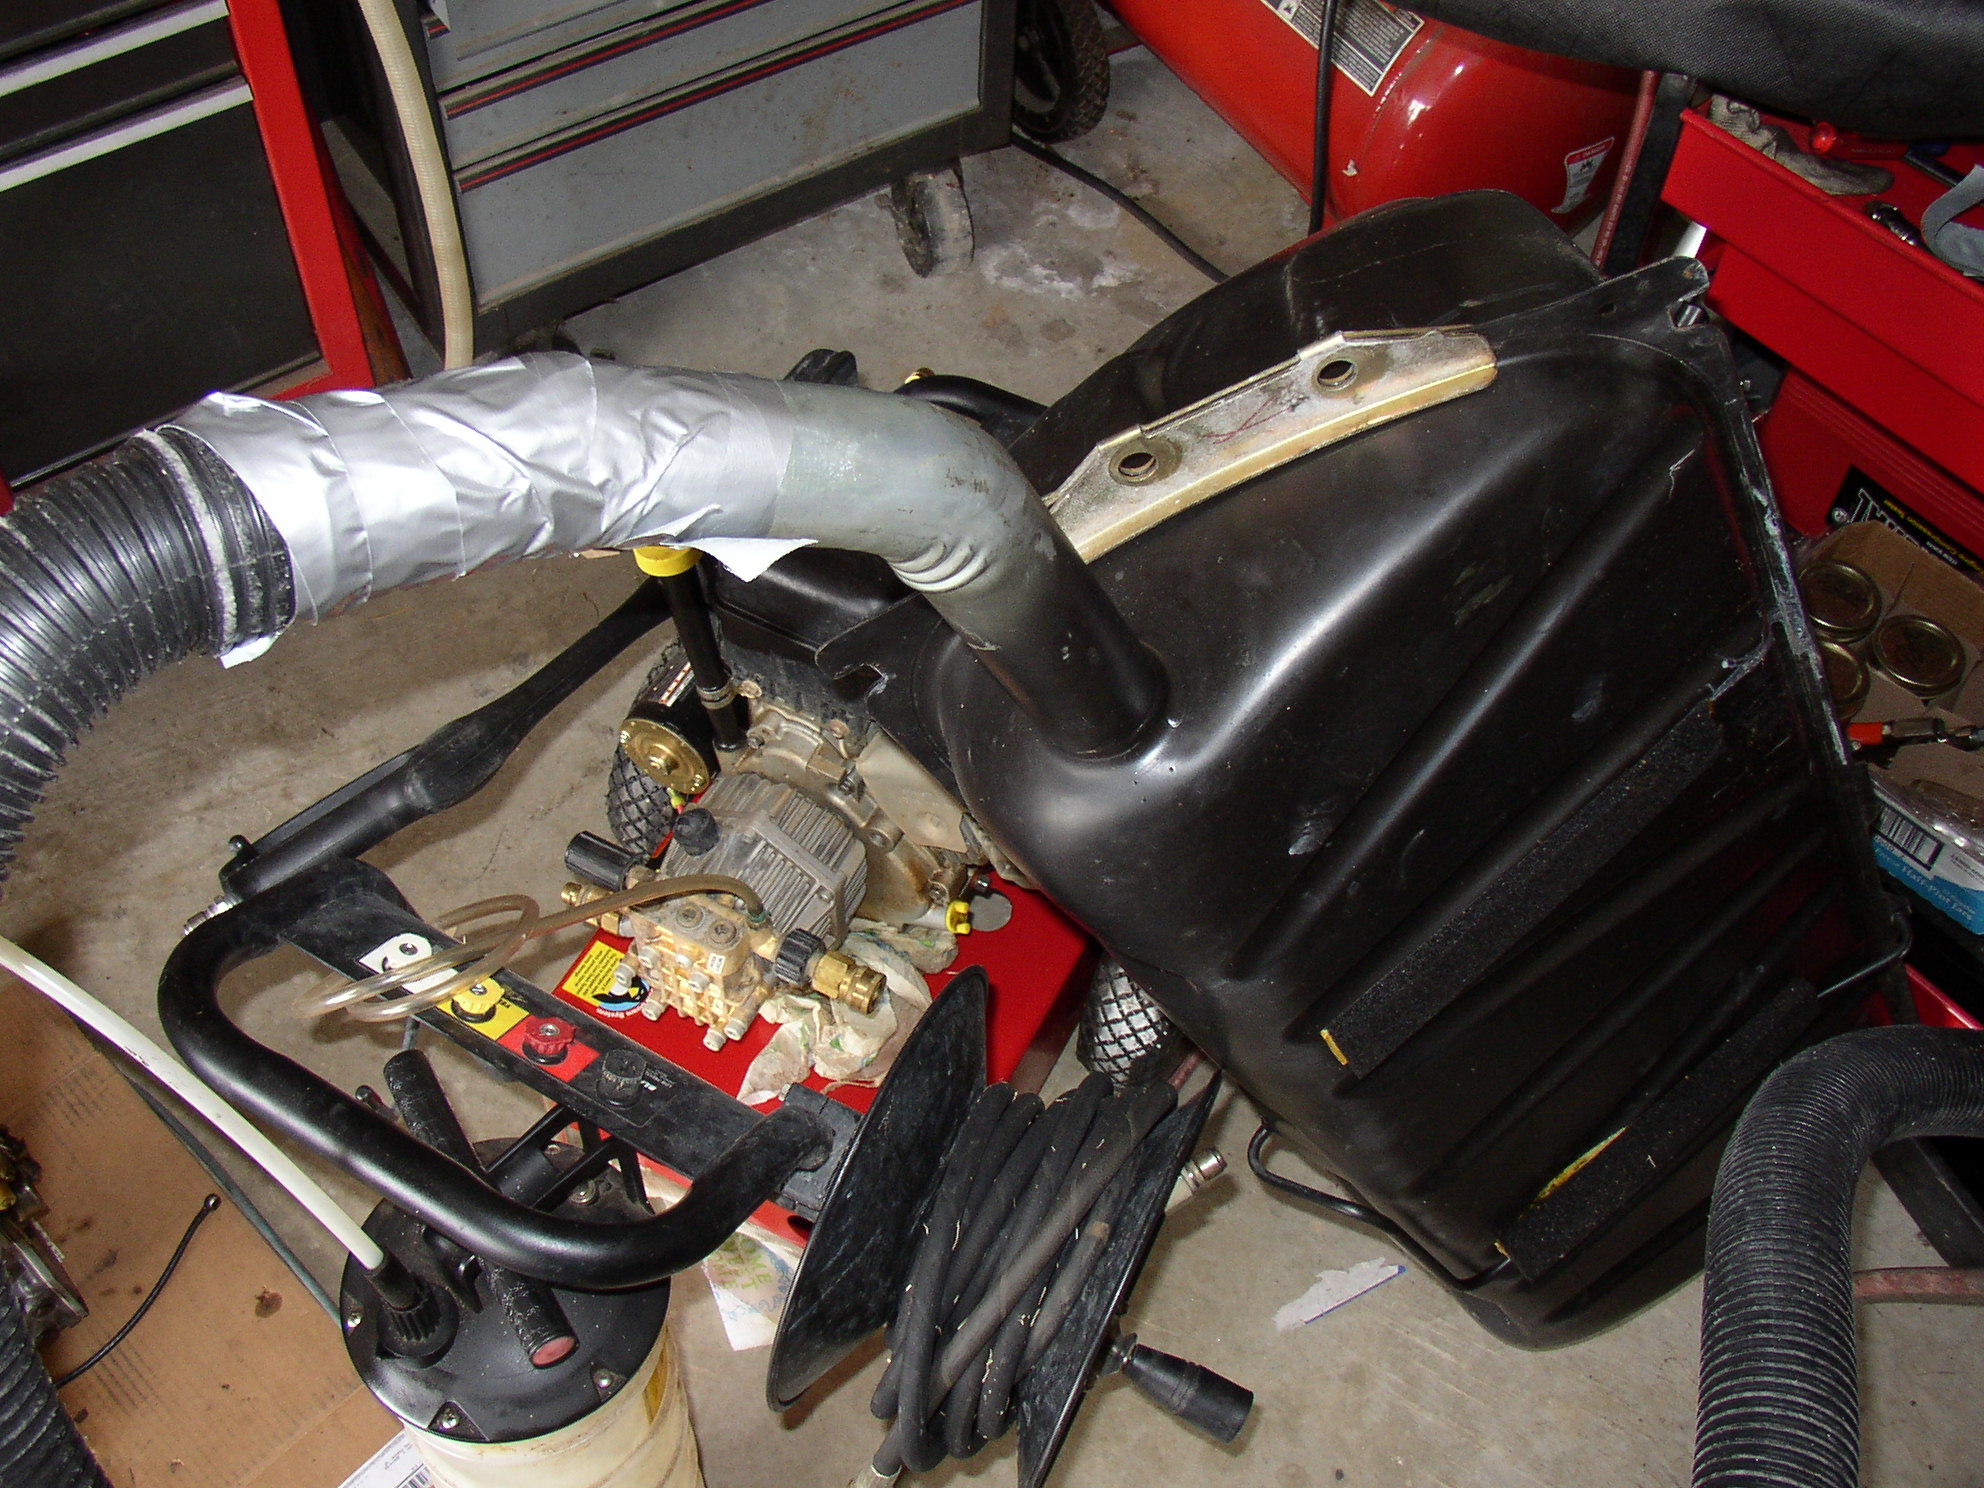
After cleaning you have to dry the tank so it does not rust. I used a shop vac with the hose
blowing out and taped to the fuel inlet. I used duct tape to tape up all the holes EXCEPT the
bottom most one, the fuel sending unit hole. This method will get all the water out and dry
the tank nice. The tank is leaning over so all the water collects in the corner. I could not take
pics of the inside but it was very clean and dry after about 20 minutes of drying.
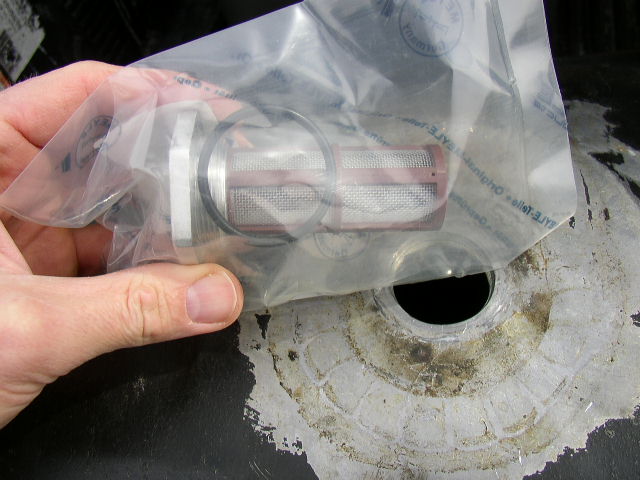
Brand new dieselgiant.com fuel screen and O ring.
Take the two seals I told you not to loose clean them up and then use some clear silicon
to glue them back in place. Make sure you have them oriented correctly. The silicon will
hold them in firmly.
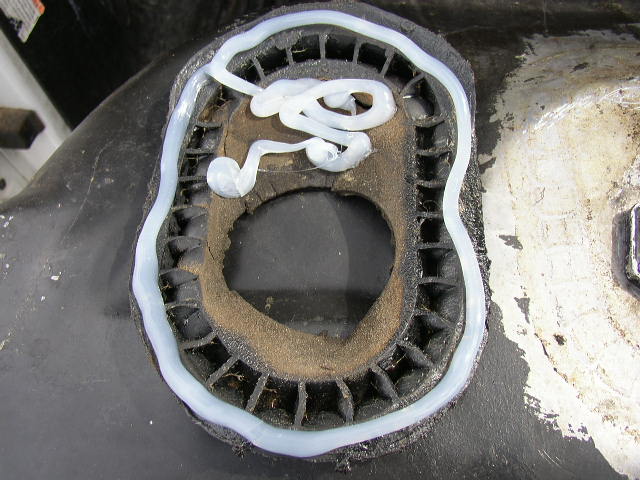
Silicone the tank and gasket sides for a tight seal.
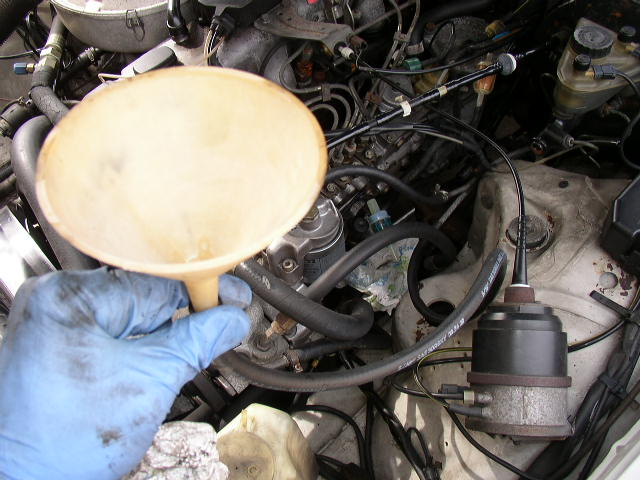
While the silicone sets up, we need to flush the supply and return lines. Don't spend all
that time cleaning the tank only to have dirty lines. If you have an algae problem you WILL
re-infect the tank if you don't flush them out. So I took some fuel line and a small funnel
hooked it up to the supply line and poured mineral spirits in.
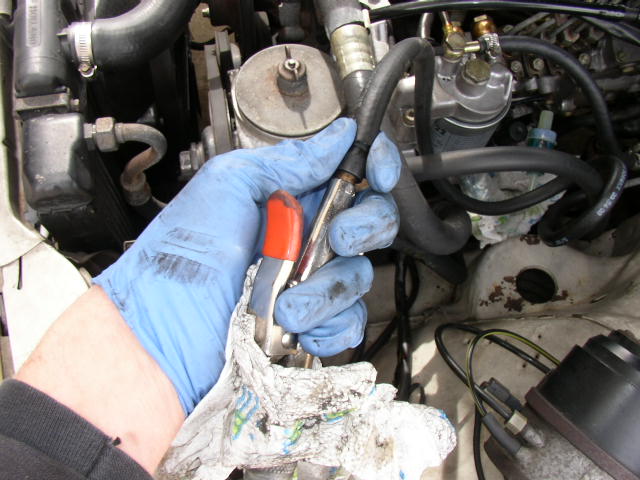
Then blew the line out with a very low pressure (10psi) of compressed air.
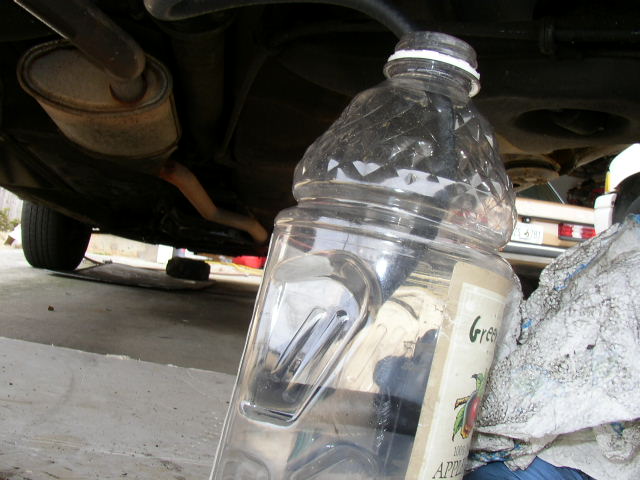
At the other end I had a catch bottle set up to catch the mineral spirits and gunk that will
come out of the bottle.
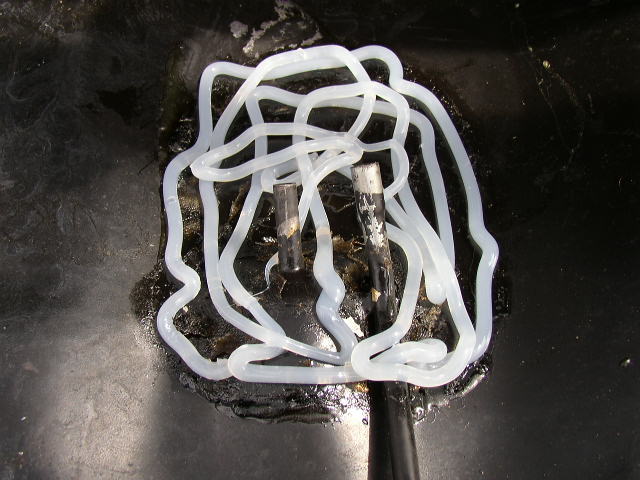
Don't think the lines are contaminated?? Look what came out! Repeat this until NOTHING
but clean mineral spirits comes out. Do this for the supply and return line.
If your using the dieselgiant.com fuel hose replacement kit install the new hoses after
you have flushed the lines. You are installing them on the metal lines that run to the engine
compartment since we have not installed the fuel tank yet.
Now reinstall the tank into the truck. Make sure the gaskets you installed do not come off.
Then bolt it back in.
My tank neck was a little off center with the hole in the body which made installing and
removing the tank cumbersome until I thought to use my hand to push it over.
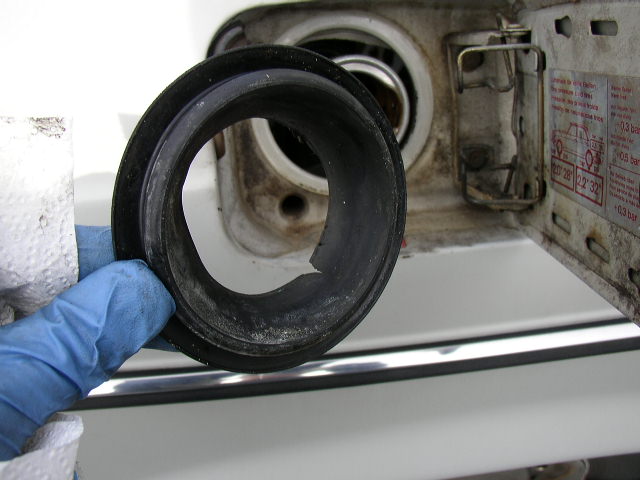
Old gromet is dry rotted and will be replaced with the new dieselgiant.com fuel neck
grommet.
Hook up your supply hose to the tank. You can see the one gasket shifted slightly while
I was maneuvering the tank in the car, but I was able to move it back since the silicone had
not set up yet.
Hook up your return and vapor line hoses to the tank. The brown grease you see is from
my axles which is the next pictorial I am working on.
Bolt the metal panel back in......
Install your new fuel sending unit.....
Reinstall the first aid box....
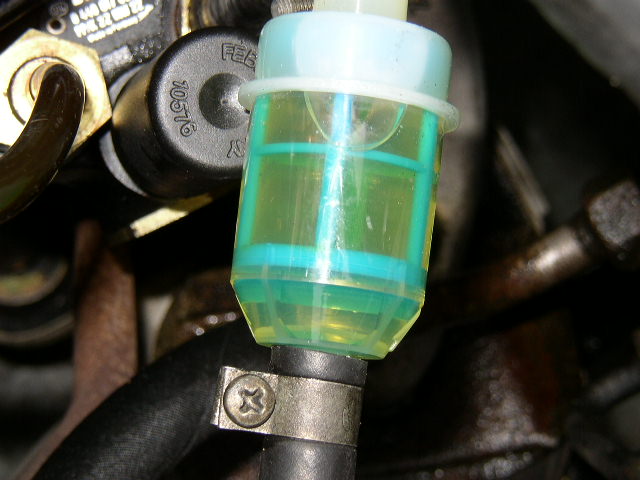
Hook up the lines in the engine compartment, fill the tank with several gallons of clean
fresh diesel, prime the fuel filters start the car and check for leaks. This is how clean the fuel
filter should be if your tank is clean.
Now get out and drive that car!